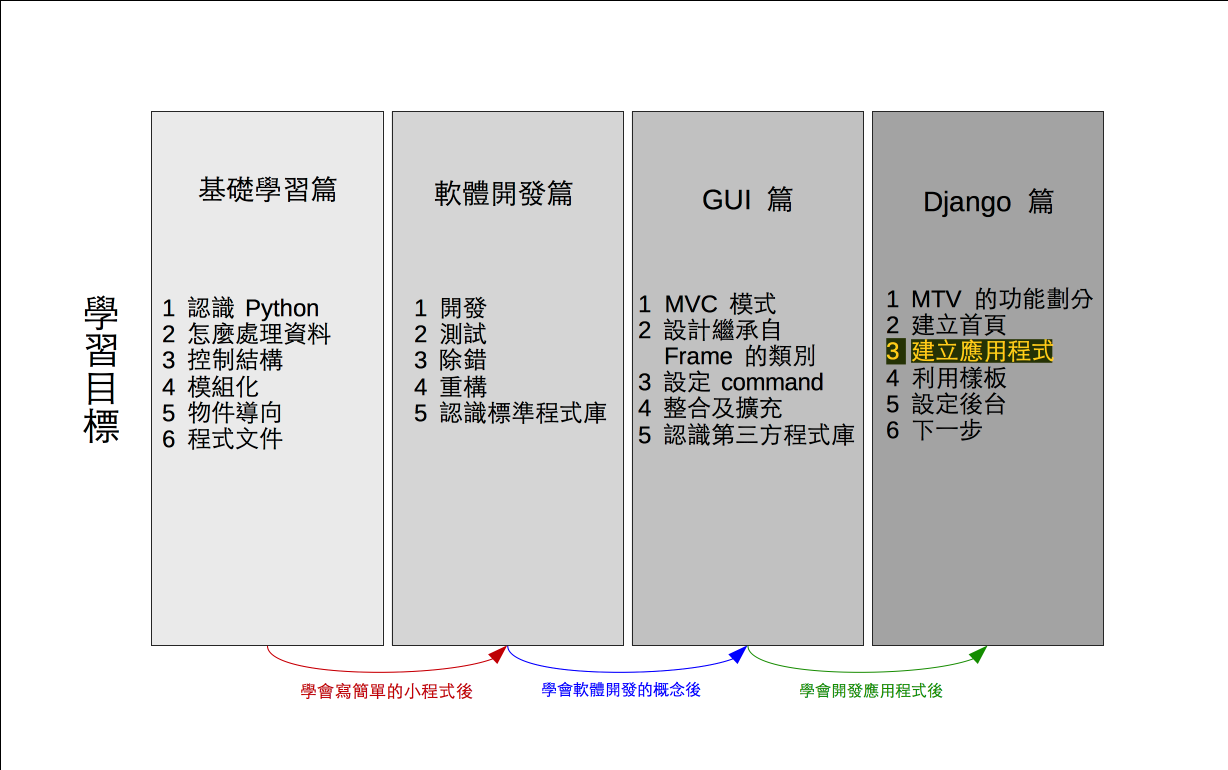

建立 App 相對也要設定 M 部分
↑
M T V
↓ ↓
Models Views
首先,要在 web_demo 專案 (project) 中建立網路應用程式 encode ,請移動路徑到第一層的 web_demo 資料夾,輸入以下指令
| $ python manage.py startapp encode |
| $ |
如果無聲無息跳到下一行,就表示網路應用程式 encode 已經建立好了,此時自動增加 encode 資料夾及相關的預設檔案,接下來要先修改 encode 資料夾 models.py ,如下
from django.db import models

class Sentence(models.Model):
  original_text = models.CharField(max_length=200)
  encoding_text = models.CharField(max_length=200)

  def __str__(self):
    return self.encoding_text

#《程式語言教學誌》的範例程式
# http://kaiching.org/
# 檔名:models.py
# 功能:示範利用 Python 設計 Django 專案
# 作者:張凱慶 */
Sentence 是物件模型類別 (class) ,注意屬性 original_text 及 encoding_text 就是資料庫的欄位,這裡 models 的 CharField() 就是字元欄位的資料型態 (data type) ,另一種方式來講就是字串 (string) ,而 max_length 是指最大字元量,這裡設定為 200
class Sentence(models.Model):
  original_text = models.CharField(max_length=200)
  encoding_text = models.CharField(max_length=200)

  def __str__(self):
    return self.encoding_text
此外,另外定義 __str__() 方法,這在後續操作資料庫的時候,可以直接知道這一筆資料的值是什麼,還有 Sentence 繼承 (inherit) 自 models.Model ,因此程式一開始要做引入動作
from django.db import models資料庫模型設定好了,接下來要修改 setting.py ,找到串列 (list) INSTALLED_APPS
INSTALLED_APPS = [
  'django.contrib.admin',
  'django.contrib.auth',
  'django.contrib.contenttypes',
  'django.contrib.sessions',
  'django.contrib.messages',
  'django.contrib.staticfiles',
]
在 INSTALLED_APPS 加入 'encode' ,修改如下
INSTALLED_APPS = [
  'django.contrib.admin',
  'django.contrib.auth',
  'django.contrib.contenttypes',
  'django.contrib.sessions',
  'django.contrib.messages',
  'django.contrib.staticfiles',
  'encode',
]
接下來回到命令列打指令,移動到第一層的 web_demo 資料夾,然後輸入以下指令
| $ python manage.py makemigrations encode |
| migrations encode |
| Migrations for 'encode': |
| encode/migrations/0001_initial.py |
| - Create model Sentence |
| $ |
當出現底下 migrations encode 等相關訊息,就表示執行成功,接著再繼續輸入以下指令
| $ python manage.py sqlmigrate encode 0001 |
| BEGIN; |
| -- |
| -- Create model Sentence |
| -- |
| CREATE TABLE "encode_sentence" ("id" integer NOT NULL PRIMARY KEY AUTOINCREMENT, "original_text" varchar(200) NOT NULL, "encoding_text" varchar(200) NOT NULL); |
| COMMIT; |
| $ |
這裡可以看到建立了 encode_sentence 資料表,有 id 、 original_text 、 encoding_text 等屬性,下面再繼續輸入以下指令
| $ python manage.py migrate |
| Operations to perform: |
| Apply all migrations: admin, auth, contenttypes, encode, sessions |
| Running migrations: |
| Applying contenttypes.0001_initial... OK |
| Applying auth.0001_initial... OK |
| Applying admin.0001_initial... OK |
| Applying admin.0002_logentry_remove_auto_add... OK |
| Applying contenttypes.0002_remove_content_type_name... OK |
| Applying auth.0002_alter_permission_name_max_length... OK |
| Applying auth.0003_alter_user_email_max_length... OK |
| Applying auth.0004_alter_user_username_opts... OK |
| Applying auth.0005_alter_user_last_login_null... OK |
| Applying auth.0006_require_contenttypes_0002... OK |
| Applying auth.0007_alter_validators_add_error_messages... OK |
| Applying auth.0008_alter_user_username_max_length... OK |
| Applying auth.0009_alter_user_last_name_max_length... OK |
| Applying encode.0001_initial... OK |
| Applying sessions.0001_initial... OK |
| $ |
這樣資料庫就弄好了,下面繼續修改 encode 資料夾中的 views.py ,這邊先弄個測試版本,也就是先用給定字串 "There is no spoon." 輸出編碼結果
from django.http import HttpResponse

from .encrypt import Encrypt
from .models import Sentence

def result(request):
  e = Encrypt()
  s1 = "There is no spoon."
  s2 = e.toEncode(s1)
  s = Sentence(original_text = s1, encoding_text = s2)
  s.save()
  return HttpResponse("編碼結果為 " + s2)

#《程式語言教學誌》的範例程式
# http://kaiching.org/
# 檔名:views.py
# 功能:示範利用 Python 設計 Django 專案
# 作者:張凱慶 */
請自行將 encrypt.py 加入到 encode 資料夾裡。
這邊仔細看一下 result 函數
def result(request):
  e = Encrypt()
  s1 = "There is no spoon."
  s2 = e.toEncode(s1)
  s = Sentence(original_text=s1, encoding_text=s2)
  s.save()
return HttpResponse("編碼結果為 " + s2)基本上資料庫處理就是建立資料模型的物件,此例為變數 s ,然後以參數設定資料表的屬性,最後資料模型物件 s 呼叫 save() 方法,將資料存進資料庫
s = Sentence(original_text=s1, encoding_text=s2)
s.save()
坦白說這邊其實還不需要用到資料庫,倒是先介紹資料庫處理的概念,如果有興趣,也可以在命令列用指令 python manage.py shell 啟動 Python 的互動式介面,然後在互動式介面中操作資料。
接著要修改第二層 web_demo 資料夾中的 urls.py 及 encode 資料夾中的 urls.py ,使 Django 從網址呼叫 views.py 中的 result 函數。以下為第二層 web_demo 資料夾中的 urls.py
from django.contrib import admin
from django.urls import include, path

from . import views

urlpatterns = [
    path('', views.now),
    path('encode/', include('encode.urls')),
    path('admin/', admin.site.urls),
]

#《程式語言教學誌》的範例程式
# http://kaiching.org/
# 檔名:urls.py
# 功能:示範利用 Python 設計 Django 專案
# 作者:張凱慶 */
以上用首頁網址加上 encode/ 就會啟動 encode 網頁應用程式,下面是 encode 資料夾中的 urls.py
from django.urls import path

from . import views

app_name = 'encode'
urlpatterns = [
    path('', views.result, name='result'),
]

#《程式語言教學誌》的範例程式
# http://kaiching.org/
# 檔名:urls.py
# 功能:示範利用 Python 設計 Django 專案
# 作者:張凱慶 */
也就是說,連結到以下網址
- http://127.0.0.1:8000/encode/
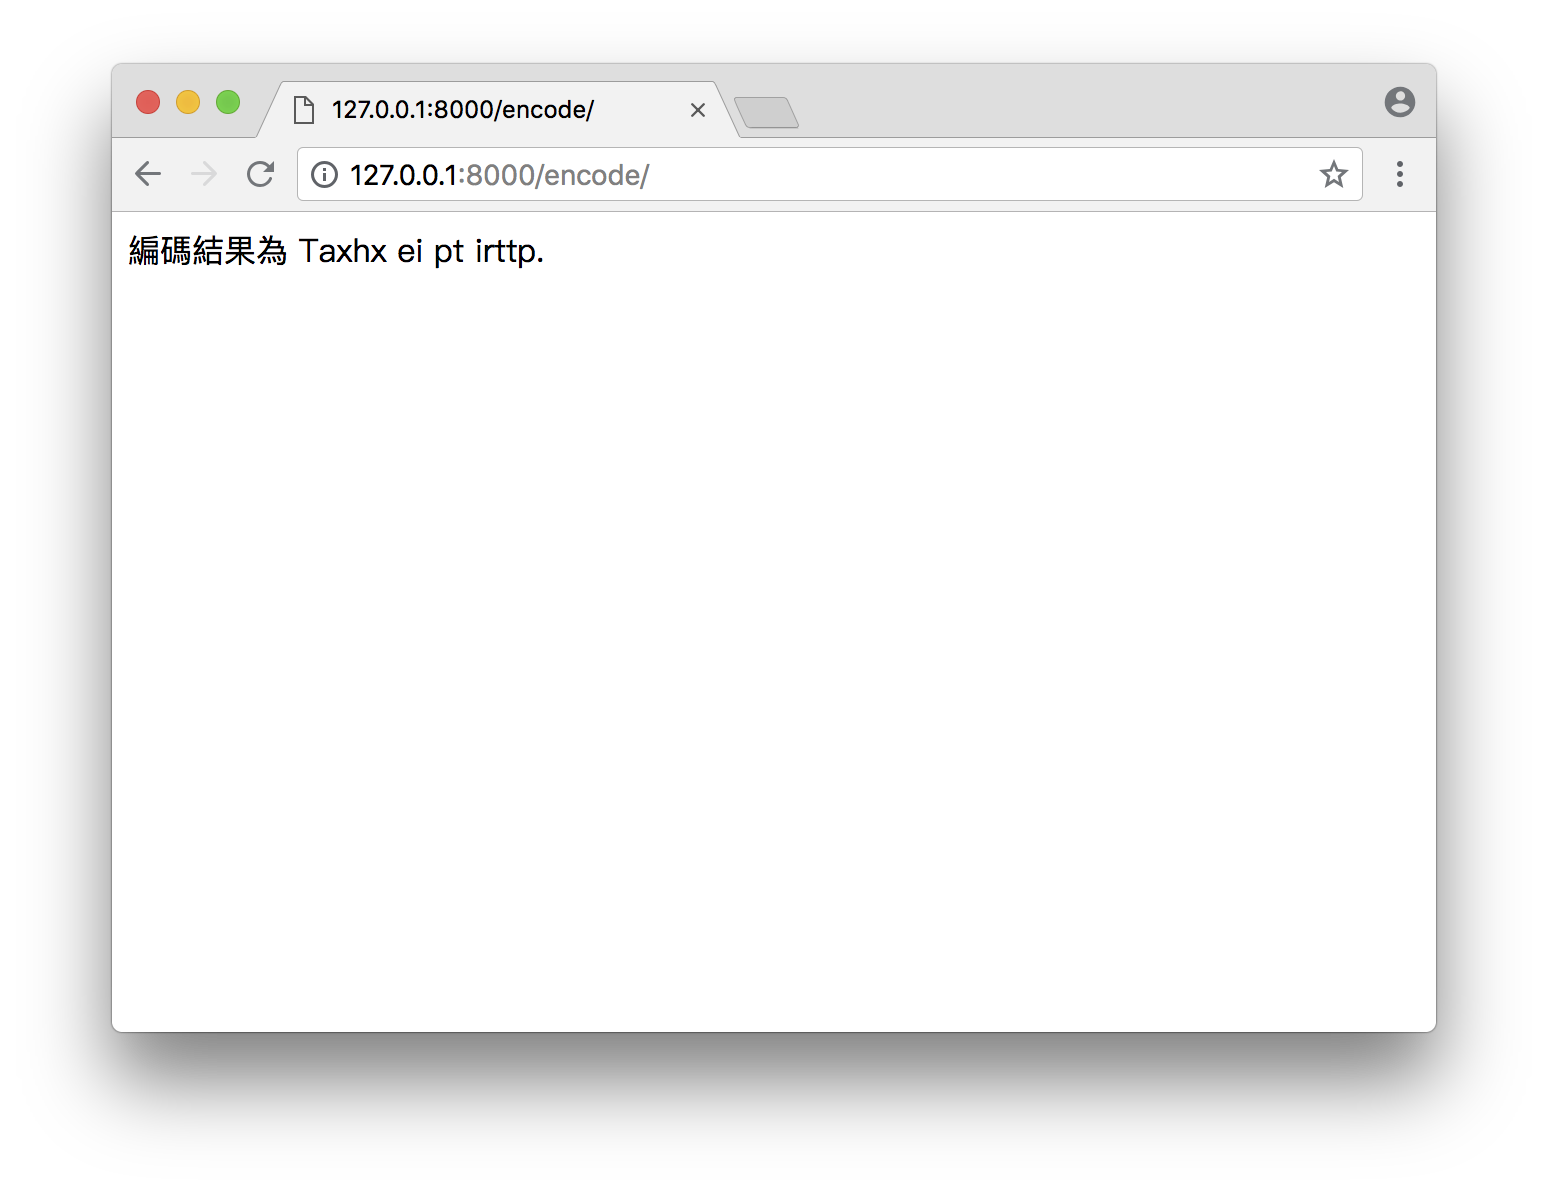
就會執行 encode 資料夾 views.py 中的 result() 函數 (function) ,顯示 "There is no spoon." 的編碼結果。
此時 web_demo 專案的檔案結構如下
- 📁web_demo
- db.sqlite3
- manage.py
- 📁web_demo
- __init__.py
- settings.py
- urls.py
- views.py
- wsgi.py
- 📁encode
- __init__.py
- admin.py
- apps.py
- models.py
- tests.py
- urls.py
- views.py
- 📁migrations
- __init__.py
- 0001_initial.py
來試試看囉!直接連結到上述 encode 網路應用程式的網址,結果如下

以上是用給定的字串進行編碼,我們在下個單元繼續介紹網頁樣板,同時改成接收使用者輸入字串,並顯示輸入字串的編碼結果。
| 中英文術語對照 | |
|---|---|
| 類別 | class |
| 資料型態 | data type |
| 函數 | function |
| 繼承 | inherit |
| 串列 | list |
| 專案 | project |
| 字串 | string |
| 重點整理 |
|---|
| 1. 建立應用程式要先在命令列輸入指令,接著在預設檔案 models.py 加入物件模型類別的定義,也要在 settings.py 註冊建立的應用程式名稱,最後要在命令列啟動資料庫的指令,並且設定 urls.py 。 |
| 問題與討論 |
|---|
| 1. 什麼是網路應用程式?為什麼要建立網路應用程式? |
| 2. 如果不用資料庫在伺服器端儲存資料,還有其他的方式嗎? |
| 練習 |
|---|
| 1. 承接單元 26 的 hello_controller.py ,替網站建立名為 hello 的應用程式,並定義記錄使用者名稱的物件模型,完成相關設定。 |
| 2. 承接單元 27 的猜數字遊戲 ,替網站建立名為 game 的應用程式,並定義記錄猜測 AB 結果的物件模型,完成相關設定。 |
相關教學影片
