
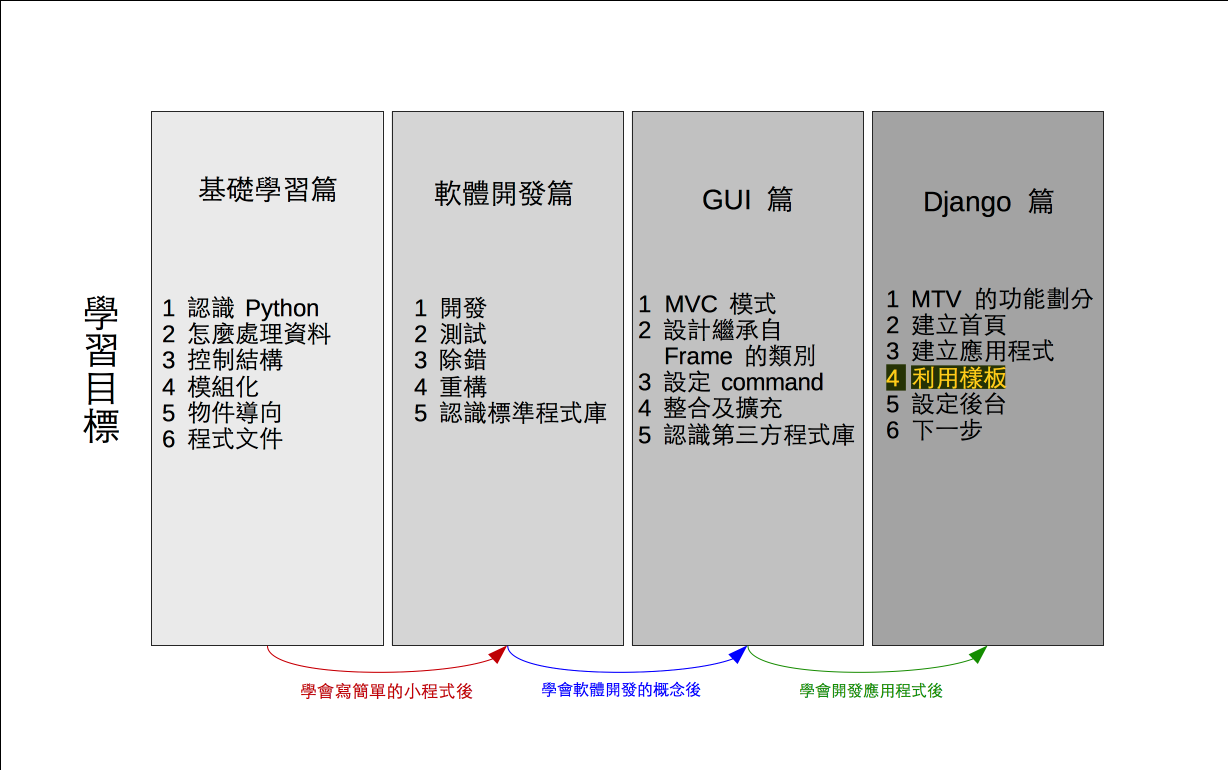
設計網頁樣板也就是 T 的部分
↑
M T V
↓ ↓
Models Views
現在先來製作首頁的樣板檔案,在第一層的 web_demo 資料夾中建立 templates 資料夾,然後在 templates 資料夾中再建立 web_demo 資料夾, web_demo 資料夾裡頭新增以下的 home.html
<!DOCTYPE html>
<html>
<head>
    <meta http-equiv="Content-Type" content="text/html; charset=utf-8">
    <title>首頁</title>
    <style>
        body {
            background-color: black;
        }
        h1 {
            margin: 10px;
            padding: 10px;
            text-align: center;
            color: white;
            background-color: gray;
        }
        div {
            margin: 10px;
            padding: 10px;
            text-align: center;
            color: white;
            background-color: gray;
        }
    </style>
</head>

<body>
  <h1>首頁</h1>

  <div>{{ current_time }}</div>

  <div><a href='/encode/'>編碼</a></div>
</body>

<!--《程式語言教學誌》的範例程式 -->
<!-- http://kaiching.org/ -->
<!-- 檔名:home.html -->
<!-- 功能:示範利用 Python 設計 Django 專案 -->
<!-- 作者:張凱慶 -->
一般來說,網頁 CSS 部分應該放在 .css 檔案,然後在 HTML 檔案中用 <link> 外聯,不過由於我們的範例很簡單,因此 CSS 的規則直接放在 <style> 標籤中
<style>
  body {
    background-color: black;
  }
  h1 {
    margin: 10px;
    padding: 10px;
    text-align: center;
    color: white;
    background-color: gray;
  }
  div {
    margin: 10px;
    padding: 10px;
    text-align: center;
    color: white;
    background-color: gray;
  }
</style>
簡單解釋一下這裡用到的 CSS 屬性,可以把 <body> 、 <h1> 、 <div> 等三個元素都想像成大框框, margin 是框線到外圍的另一個元素的距離, padding 是框線到元素內容的距離, text-align 為文字對齊方式, center 就是置中對齊, color 是文字顏色, background-color 為背景顏色。
下面 <body> 裡頭有三個元素, <body> 就是網頁內容的部分,一個 <h1> 跟兩個 <div> , <h1> 是網頁標題
<body>
  <h1>首頁</h1>

  <div>{{ current_time }}</div>

  <div><a href='/encode/'>編碼</a></div>
</body>
第一個 <div> 用了 Django 的樣板語言 (templates language) ,注意這裡前後被兩個大括弧圍起來的部分就是樣板語言, current_time 表示變數名稱
<div>{{ current_time }}</div>第二個 <div> 則是連結到 encode 網頁應用程式的連結
<div><a href='/encode/'>編碼</a></div>接下來修改首頁的 view.py ,也就是第二層 web_demo 資料夾中的 view.py ,完整程式如下
from datetime import datetime

from django.shortcuts import render

def now(request):
  now = datetime.now()
  h = str(now.hour)
  if len(h) == 1:
    h = "0" + h
  m = str(now.minute)
  if len(m) == 1:
    m = "0" + m
  s = str(now.second)
  if len(s) == 1:
    s = "0" + s
  now_str = h + ":" + m + ":" + s

  return render(request, 'web_demo/home.html', {
    'current_time': now_str,
  })

#《程式語言教學誌》的範例程式
# http://kaiching.org/
# 檔名:views.py
# 功能:示範利用 Python 設計 Django 專案
# 作者:張凱慶 */
now() 函數 (function) 中現在時間字串 (string) 做了長度調整,也就是確保時、分、秒都是兩位數的數字
now = datetime.now()
h = str(now.hour)
if len(h) == 1:
  h = "0" + h
m = str(now.minute)
if len(m) == 1:
  m = "0" + m
s = str(now.second)
if len(s) == 1:
  s = "0" + s
now_str = h + ":" + m + ":" + s
然後把回傳 HttpResponse() 改成回傳 render() ,留意參數的順序,第一個是 request ,第二個是樣板檔案,第三個則是樣板對應變數的字典 (dictionary)
return render(request, 'web_demo/home.html', {
  'current_time': now_str,
})
也就是說,這裡的 now_str 會代入 home.html 中的 current_time 。
'current_time': now_str,接下來要修改 settings.py 中的樣板檔案的路徑,從第二層 web_demo 資料夾找到變數 TEMPLATES ,然後找到以下的地方
'DIRS': [],把以上的串列修改為以下的內容
'DIRS': [os.path.join(BASE_DIR, 'templates')],下面再繼續增加 encode 應用程式的樣板檔案,先在 encode 資料夾中增加 templates 資料夾,然後在 templates 資料夾中再建立 encode 資料夾,然後新增以下用為輸入的 input.html
<!DOCTYPE html>
<html>
<head>
  <meta http-equiv="Content-Type" content="text/html; charset=utf-8">
  <title>輸入英文句子</title>
  <style>
    body {
      background-color: black;
    }
    h1 {
      margin: 10px;
      padding: 10px;
      text-align: center;
      color: white;
      background-color: gray;
    }
    form {
      margin: 10px;
      padding: 10px;
      color: white;
      background-color: gray;
    }
  </style>
</head>

<body>
  <h1>輸入英文句子</h1>

  <form action="./result/" method="post">
  {% csrf_token %}
  <label>請輸入英文句子:</label><input size="50" type="text" name="original_text"><br />
  <input type="submit" value="送出" />
  </form>
</body>

<!--《程式語言教學誌》的範例程式 -->
<!-- http://kaiching.org/ -->
<!-- 檔名:input.html -->
<!-- 功能:示範利用 Python 設計 Django 專案 -->
<!-- 作者:張凱慶 -->
<body> 的內容為一個 <h1> 及一個 <form> , <form> 是 HTML 中用來輸入內容的表單,先看到這一行
<form action="./result/" method="post">action 屬性設定的是網址,也就是按下最底下的 送出 按鈕
<input type="submit" value="送出" />就會連結到以下網址
- http://127.0.0.1:8000/encode/result/
下文會重新設定 urls.py 及 views.py ,在切換到以上網址的時候做相對應的處理。繼續看到 <form> 的下一行
{% csrf_token %}這是 Django 防範 CSRF 攻擊的簡單防範方式,然後下一行
<label>請輸入英文句子:</label><input size="50" type="text" name="original_text"><br /><label> 是文字標籤,後面的 <input> 是文字輸入欄位,其中屬性 name 設定為 "original_text" ,這會對應到底下 views.py 中 result() 函數用的 request 參數的 POST 屬性。
下面繼續加入顯示結果的 result.html
<!DOCTYPE html>
<html>
<head>
  <meta http-equiv="Content-Type" content="text/html; charset=utf-8">
  <title>編碼結果</title>
  <style>
    body {
      background-color: black;
    }
    h1 {
      margin: 10px;
      padding: 10px;
      text-align: center;
      color: white;
      background-color: gray;
    }
    div {
      margin: 10px;
      padding: 10px;
      text-align: center;
      color: white;
      background-color: gray;
    }
  </style>
</head>

<body>
  <h1>編碼結果</h1>

  <div>{{ encoding_text }}</div>

  <div><a href="../">重新輸入</a></div>
</body>

<!--《程式語言教學誌》的範例程式 -->
<!-- http://kaiching.org/ -->
<!-- 檔名:result.html -->
<!-- 功能:示範利用 Python 設計 Django 專案 -->
<!-- 作者:張凱慶 -->
result.html 跟 home.html 很像,底下重新輸入的連結是回到上一頁的相對路徑
<div><a href="../">重新輸入</a></div>下面繼續修改 encode 資料夾中的 view.py ,完整程式如下
from django.shortcuts import render

from .encrypt import Encrypt
from .models import Sentence

def input(request):
  return render(request, 'encode/input.html', {
  })

def result(request):
  e = Encrypt()
  s = Sentence()
  s.original_text = request.POST['original_text']
  s.encoding_text = e.toEncode(s.original_text)
  s.save()
  return render(request, 'encode/result.html', {
    'encoding_text': s.encoding_text,
  })

#《程式語言教學誌》的範例程式
# http://kaiching.org/
# 檔名:encode/views.py
# 功能:示範利用 Python 設計 Django 專案
# 作者:張凱慶 */
先看到 input() 函數的定義
def input(request):
  return render(request, 'encode/input.html', {
  })
這裡同樣直接回傳 render() ,由於 input.html 不需要顯示變數,因此 render() 的第三個參數為空字典。
然後看到 result() 函數的定義
def result(request):
  e = Encrypt()
  s = Sentence()
  s.original_text = request.POST['original_text']
  s.encoding_text = e.toEncode(s.original_text)
  s.save()
  return render(request, 'encode/result.html', {
    'encoding_text': s.encoding_text,
  })
注意 request.POST 是字典,因此 'original_text' 就是 input.html 中 <input> 的 "original_text" 屬性
s.original_text = request.POST['original_text']看到回傳的部分
return render(request, 'encode/result.html', {
  'encoding_text': s.encoding_text,
})
簡單說, s.encoding_text 會直接存進資料庫,然後也直接回傳 s.encoding_text 給 result.html 。
最後要修改 encode 資料夾中的 urls.py
from django.urls import path

from . import views

app_name = 'encode'
urlpatterns = [
  path('', views.input, name='input'),
  path('result/', views.result, name='result'),
]

#《程式語言教學誌》的範例程式
# http://kaiching.org/
# 檔名:urls.py
# 功能:示範利用 Python 設計 Django 專案
# 作者:張凱慶 */
這裡只有增加一個連結,也就是連結到顯示結果的網頁
path('result/', views.result, name='result'),此時 web_demo 專案的檔案結構如下
- 📁web_demo
- db.sqlite3
- manage.py
- 📁web_demo
- __init__.py
- settings.py
- urls.py
- views.py
- wsgi.py
- 📁encode
- __init__.py
- admin.py
- apps.py
- models.py
- tests.py
- urls.py
- views.py
- 📁migrations
- __init__.py
- 0001_initial.py
- 📁templates
- 📁encode
- input.html
- result.html
- 📁encode
- 📁templates
- 📁web_demo
- home.html
- 📁web_demo
來試看看囉!以下是首頁
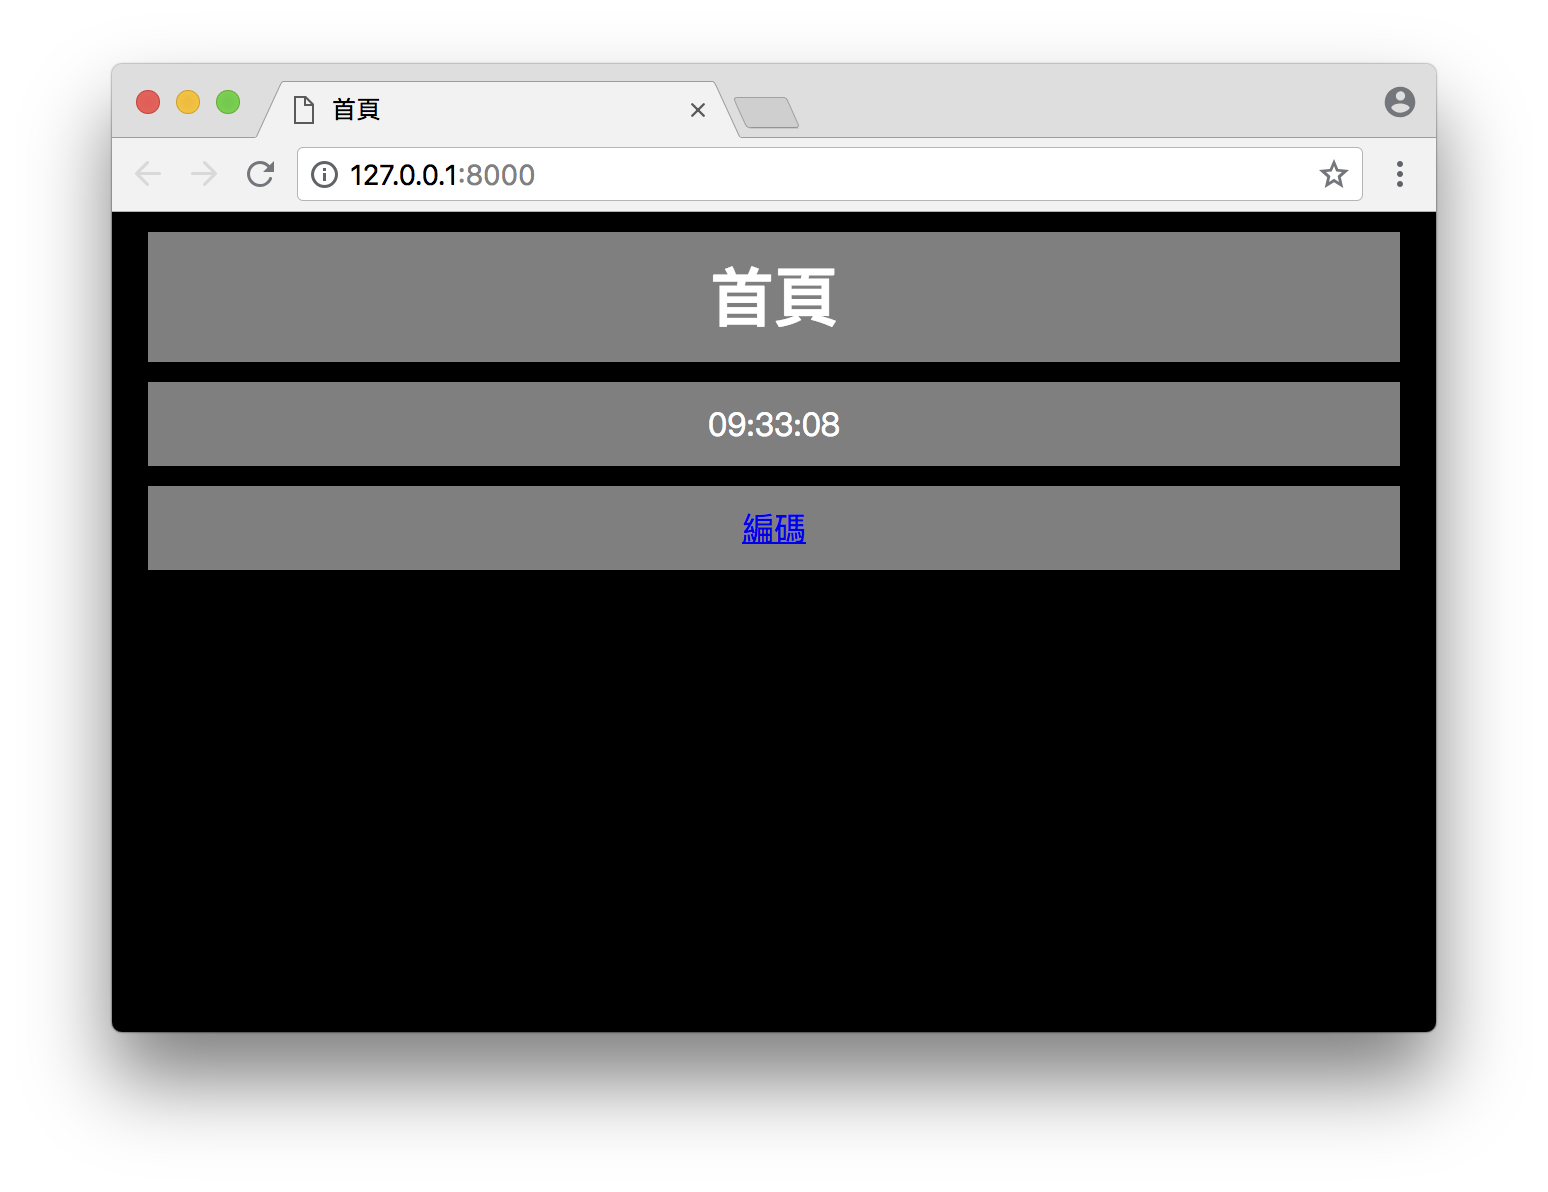
從「編碼」到輸入頁
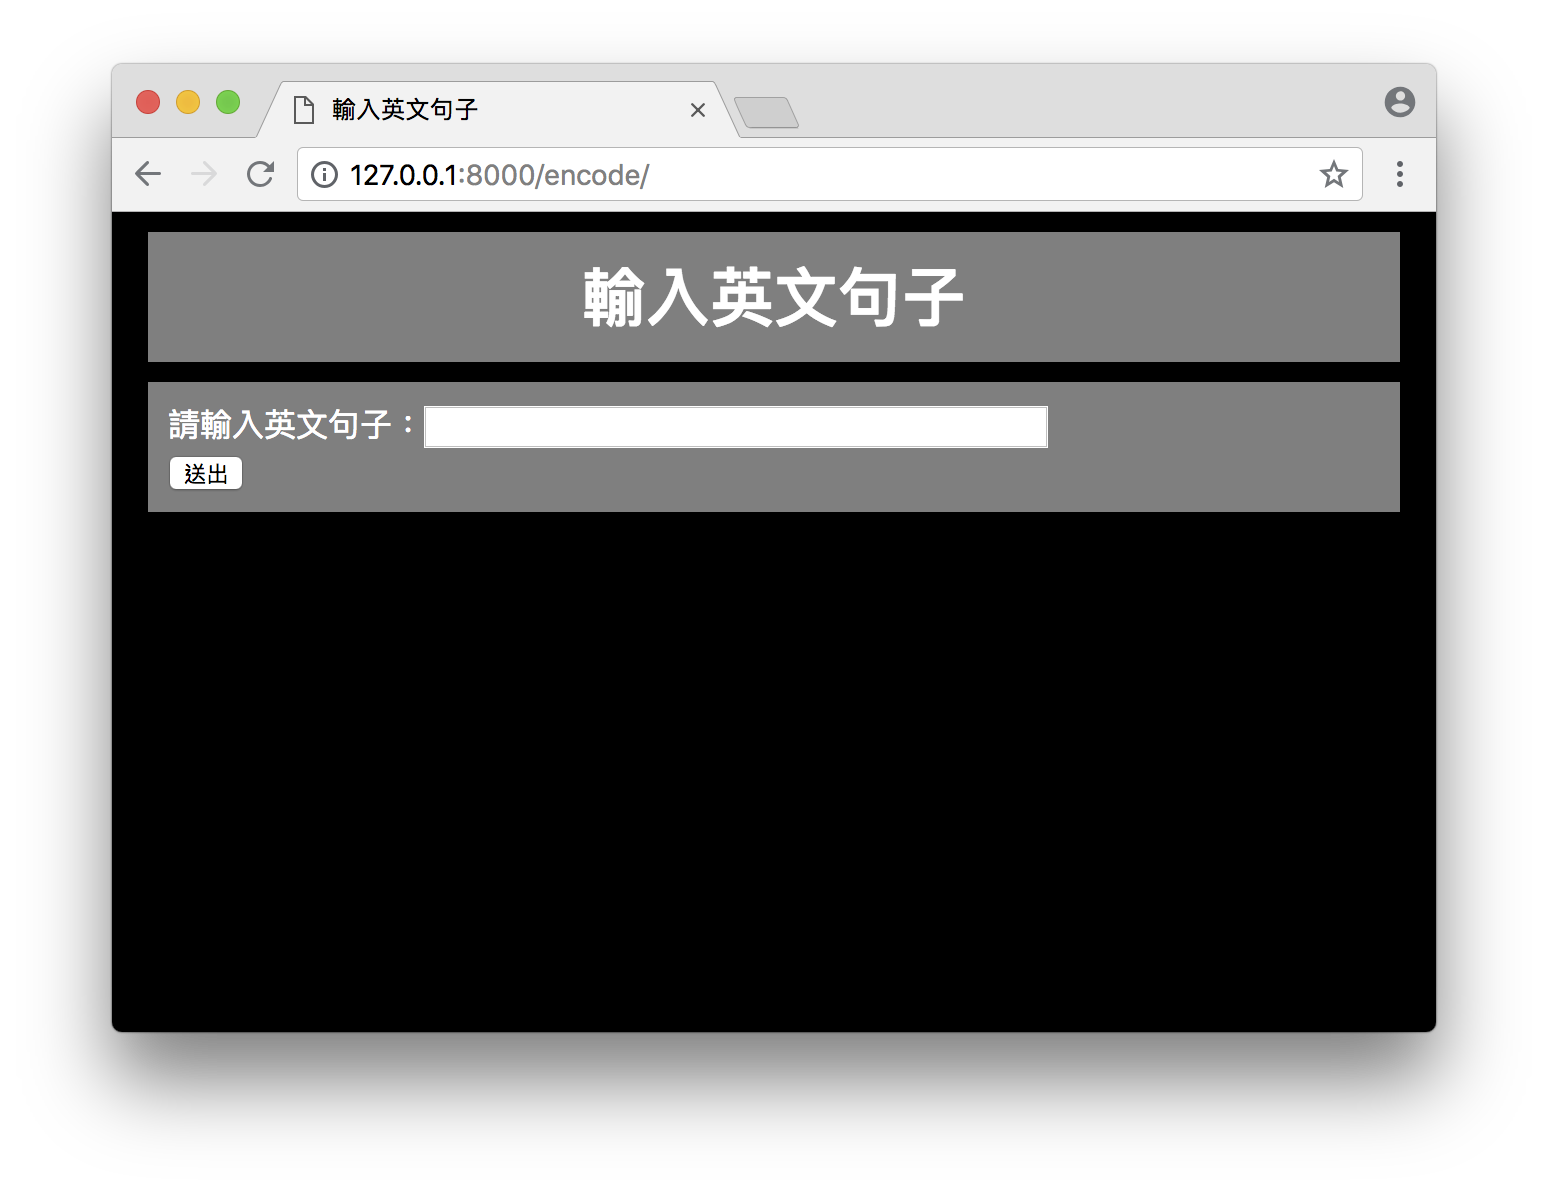
輸入 Free your mind.
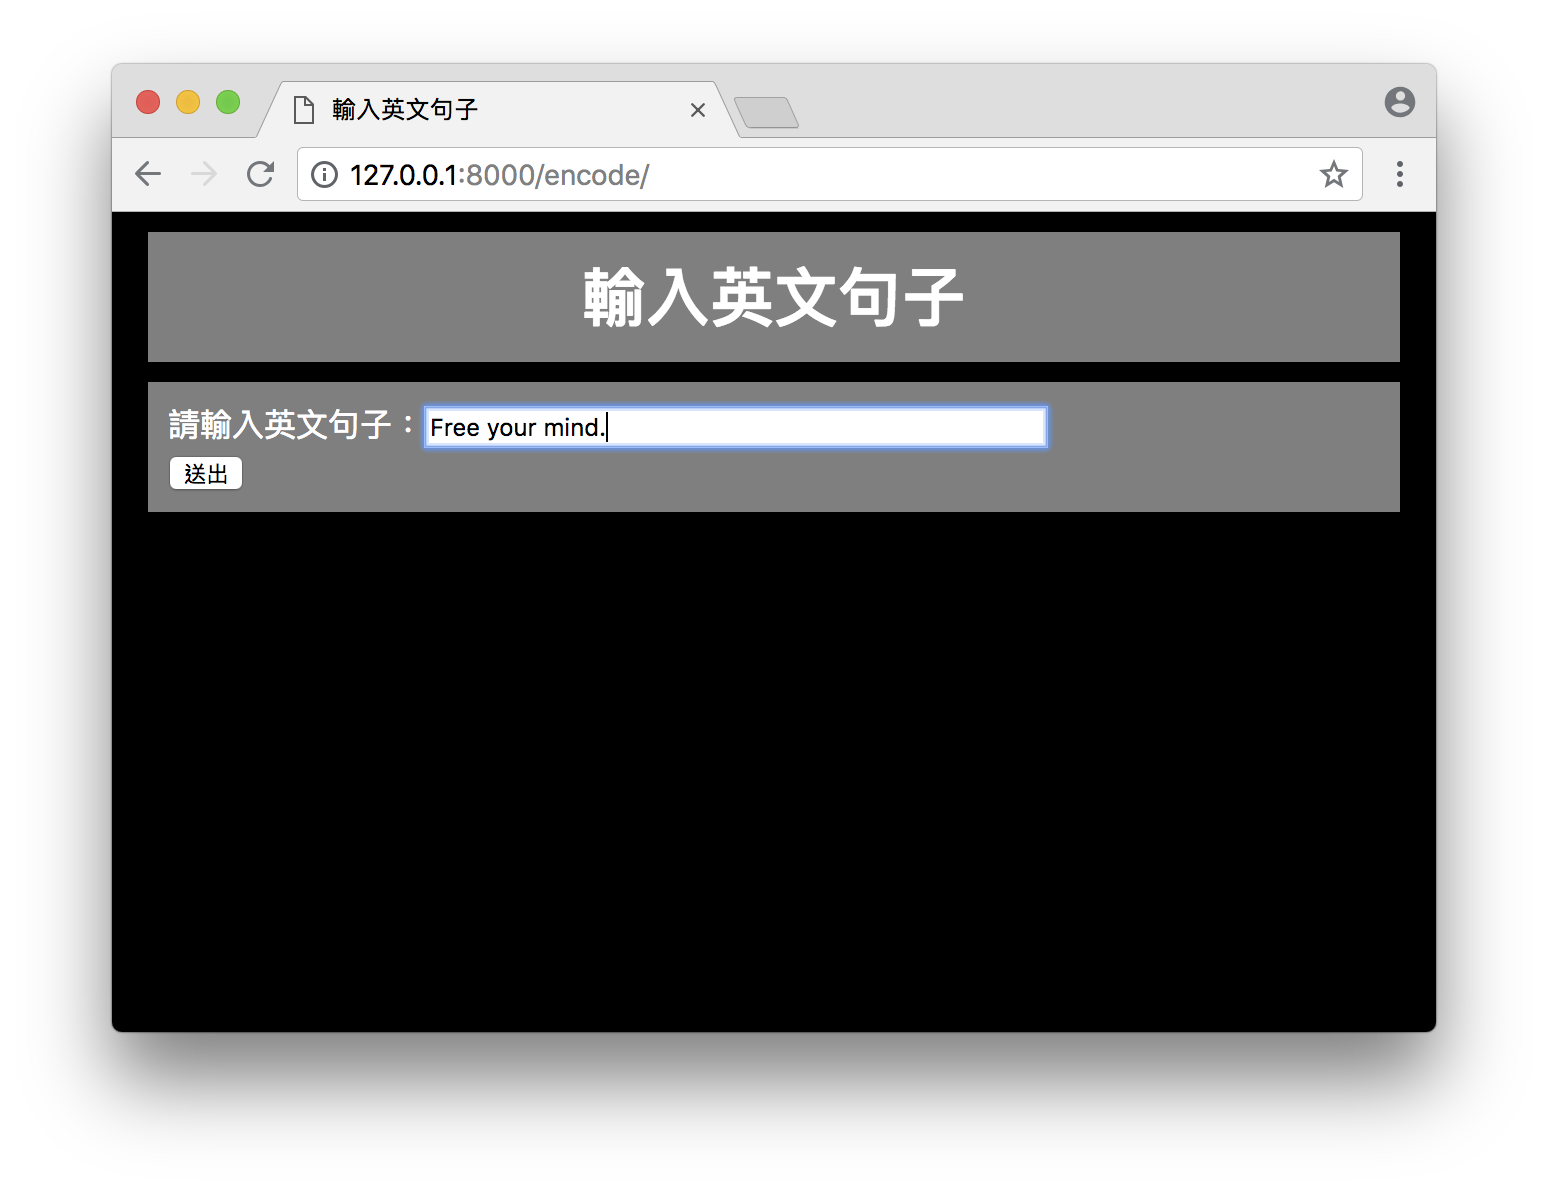
按下 送出 按鈕到結果頁
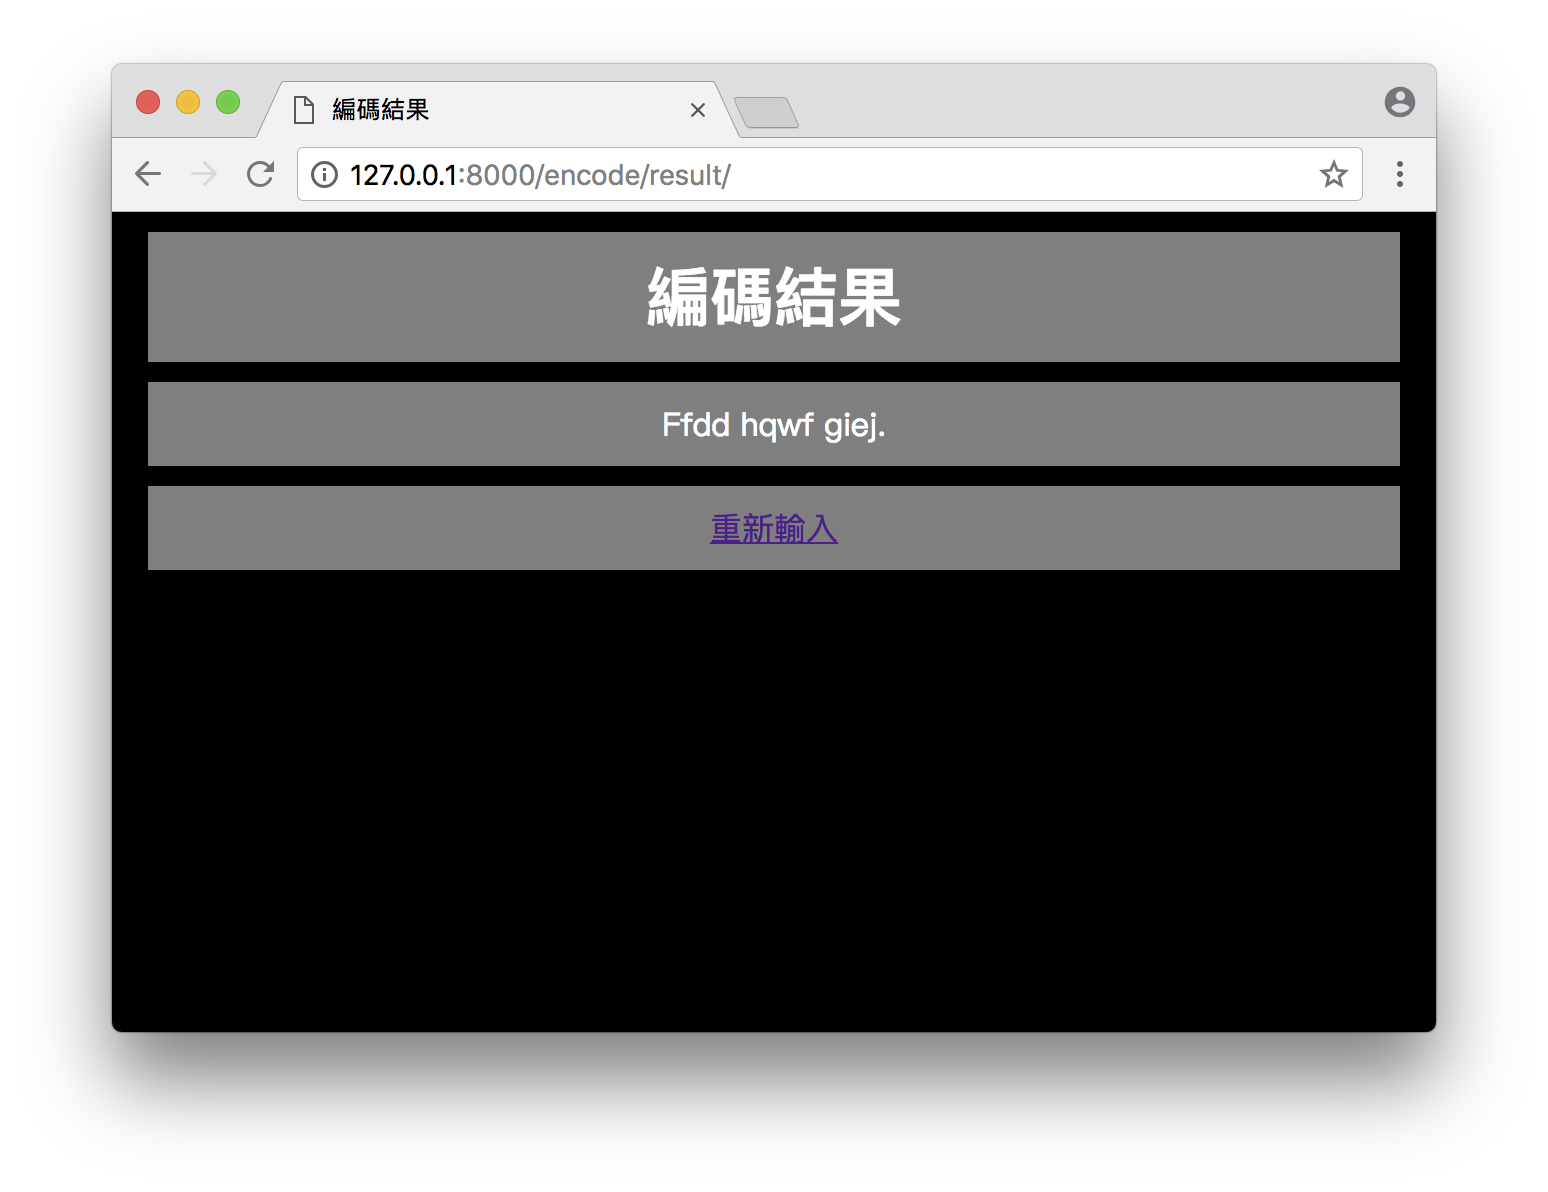
以上我們把 Encrypt 類別 (class) 運用在網路 App 上,做出一個簡單的網站,我們在下一個單元繼續來看 Django 提供的後台,也就是在首頁網址後加上 /admin/ 的頁面。
| 中英文術語對照 | |
|---|---|
| 類別 | class |
| 字典 | dictionary |
| 函數 | function |
| 字串 | string |
| 樣板語言 | templates language |
| 重點整理 |
|---|
| 1. 網頁樣板就是在 HTML 檔案中加入樣板語言,樣板語言可以加入變數,用以顯示資料庫中的資料。 |
| 2. 利用樣板檔案,同時設定 views.py ,在 urls.py 利用設定網址就可以切換輸入及結果等不同的頁面。 |
| 問題與討論 |
|---|
| 1. 什麼是網頁樣板?利用網頁樣板對架設網站有什麼方便的地方? |
| 2. 什麼是 CSRF 攻擊?為什麼要防範 CSRF 攻擊? |
| 練習 |
|---|
| 1. 承接上一個單元的 hello 應用程式,利用網頁樣板設計輸入及顯示歡迎訊息兩個頁面。 |
| 2. 承接上一個單元的 game 應用程式,利用網頁樣板設計輸入及顯示遊戲結果兩個頁面。 |
相關教學影片
