
Java 入門指南
單元 31 - 整合功能
替 EncodeActivity.java 增加功能前,先來替 activity_encode.xml 增加 App 元件 (component) ,然後用下圖的標記碼替換原有的內容
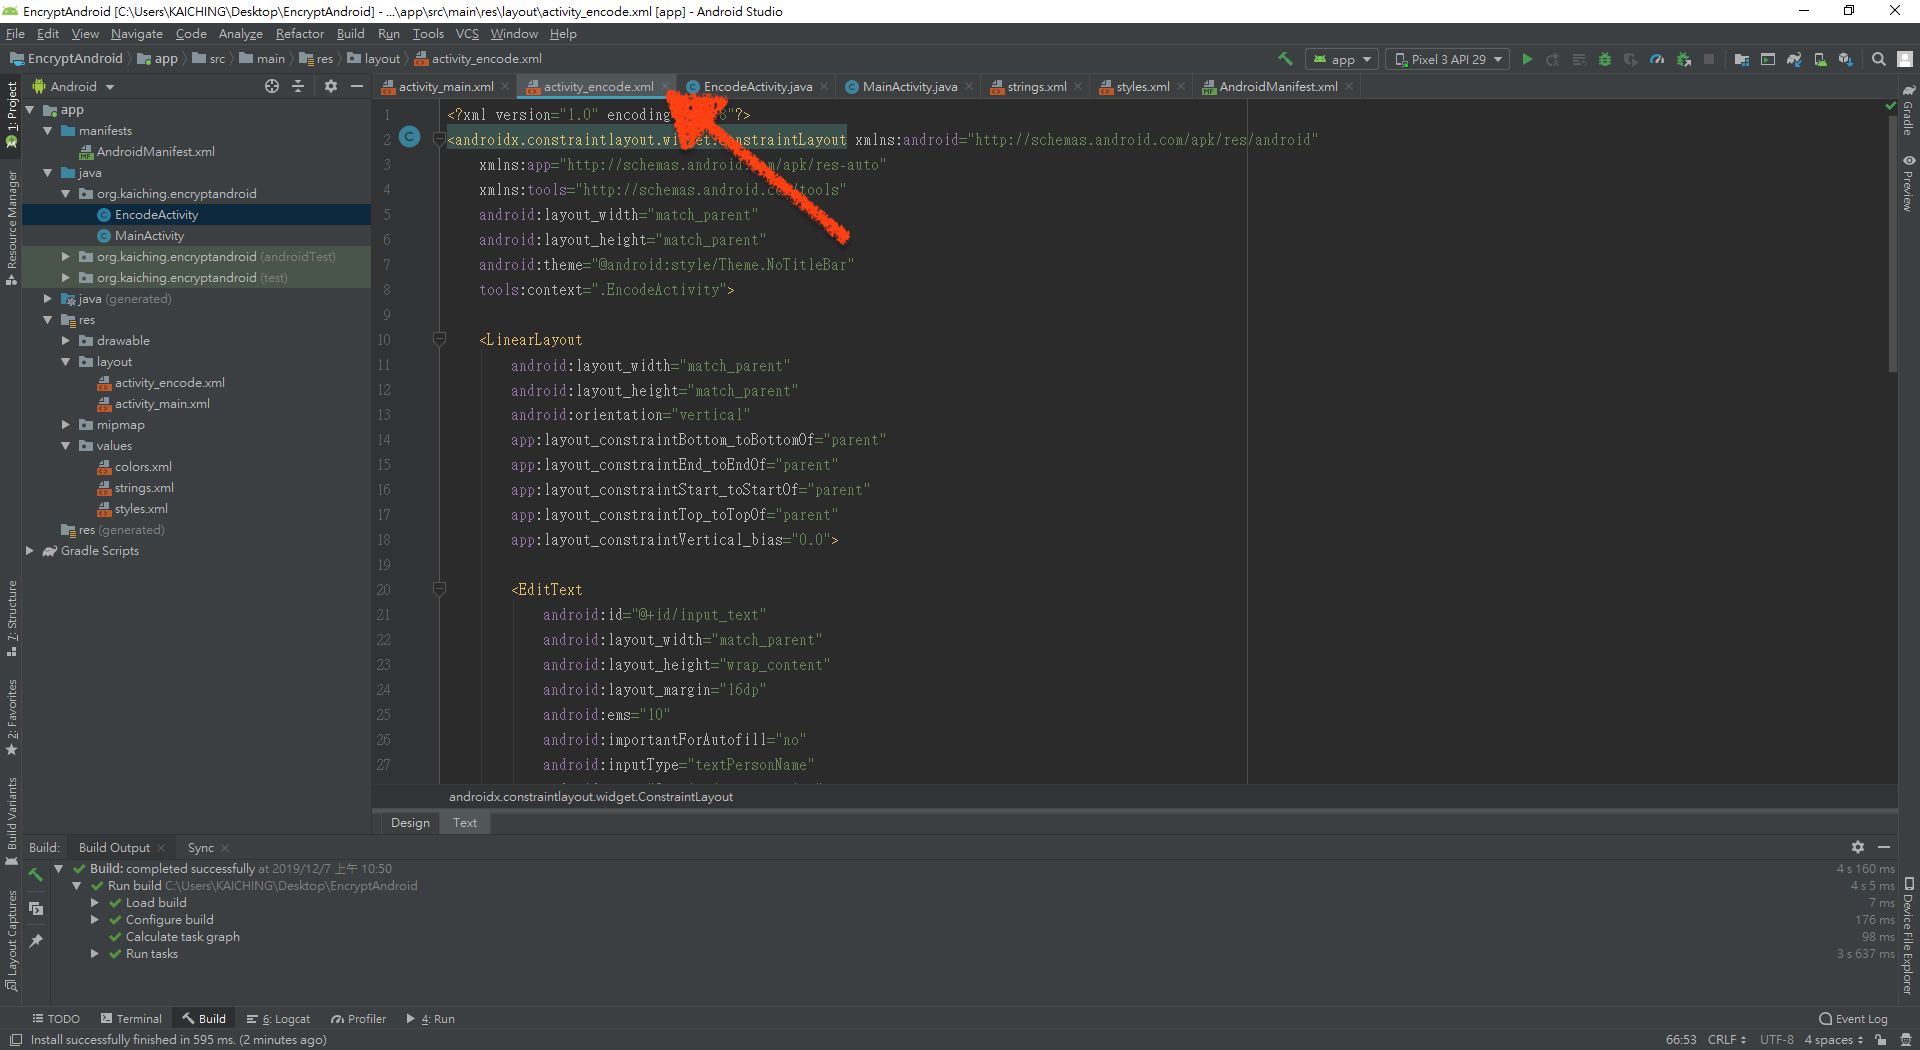
完整標記碼可以參考範例程式篇的 activity_encode.xml 。
最外層 <LinearLayout> 跟 <ConstraintLayout> 跟 activity_main.xml 一樣,這裡直接看到第一個 App 元件 <EditText>
<EditText
    android:id="@+id/input_text"
    android:layout_width="match_parent"
    android:layout_height="wrap_content"
    android:layout_margin="16dp"
    android:ems="10"
    android:inputType="text"
    android:text="@string/empty_string"
    android:importantForAutofill="no"
    tools:ignore="LabelFor" />
<EditText> 的 id 設定為 input_text
android:id="@+id/input_text"繼續看到 ems 設定為 10
android:ems="10"ems 是 <EditText> 可接受的內容總長度,單位為 2 英吋,因此 10 * 2 英吋可以輸入非常多的字元數量。
下面 inputType 設定為 text ,表示可以輸入任意字元
android:inputType="text"然後 text 為 <EditText> 裡面的文字,這裡設定為 string.xml 中的空白字串
android:text="@string/empty_string"最後兩行是針對 Android Studio 發起的警告所做的設定
android:importantForAutofill="no"
tools:ignore="LabelFor"
<EditText> 預設應該加入 autofillHints ,也就是輸入的提示選項,這裡由於完全留空,所以將 importantForAutofill 設定為 no ,至於 tools:ignore 是針對 API 小於 26 的手機,也就是 Android 8.0 之前的手機所做的設定。
繼續看到下面的 <TextView>
<TextView
    android:id="@+id/display_text"
    android:layout_width="match_parent"
    android:layout_height="wrap_content"
    android:layout_marginLeft="16dp"
    android:layout_marginTop="8dp"
    android:layout_marginRight="16dp"
    android:layout_marginBottom="8dp"
    android:text="@string/result_string"
    android:textSize="18sp" />
<TextView> 的 id 設定為 display_text
android:id="@+id/display_text"其他除了文字 text 設定為 string.xml 中的 result_string 外,都介紹過該設定值的意義。
然後有三個 <Button>
<Button
    android:id="@+id/button_encode"
    android:layout_width="match_parent"
    android:layout_height="wrap_content"
    android:layout_margin="16dp"
    android:text="@string/button_encode"
    android:textSize="18sp" />

<Button
    android:id="@+id/button_copy"
    android:layout_width="match_parent"
    android:layout_height="wrap_content"
    android:layout_margin="16dp"
    android:text="@string/button_copy"
    android:textSize="18sp" />

<Button
    android:id="@+id/button_home"
    android:layout_width="match_parent"
    android:layout_height="wrap_content"
    android:layout_margin="16dp"
    android:text="@string/button_home"
    android:textSize="18sp" />
三個 <Button> 都有各自的 id 與 string.xml 中的文字,基本上功能預計都符合按鈕文字的意思。
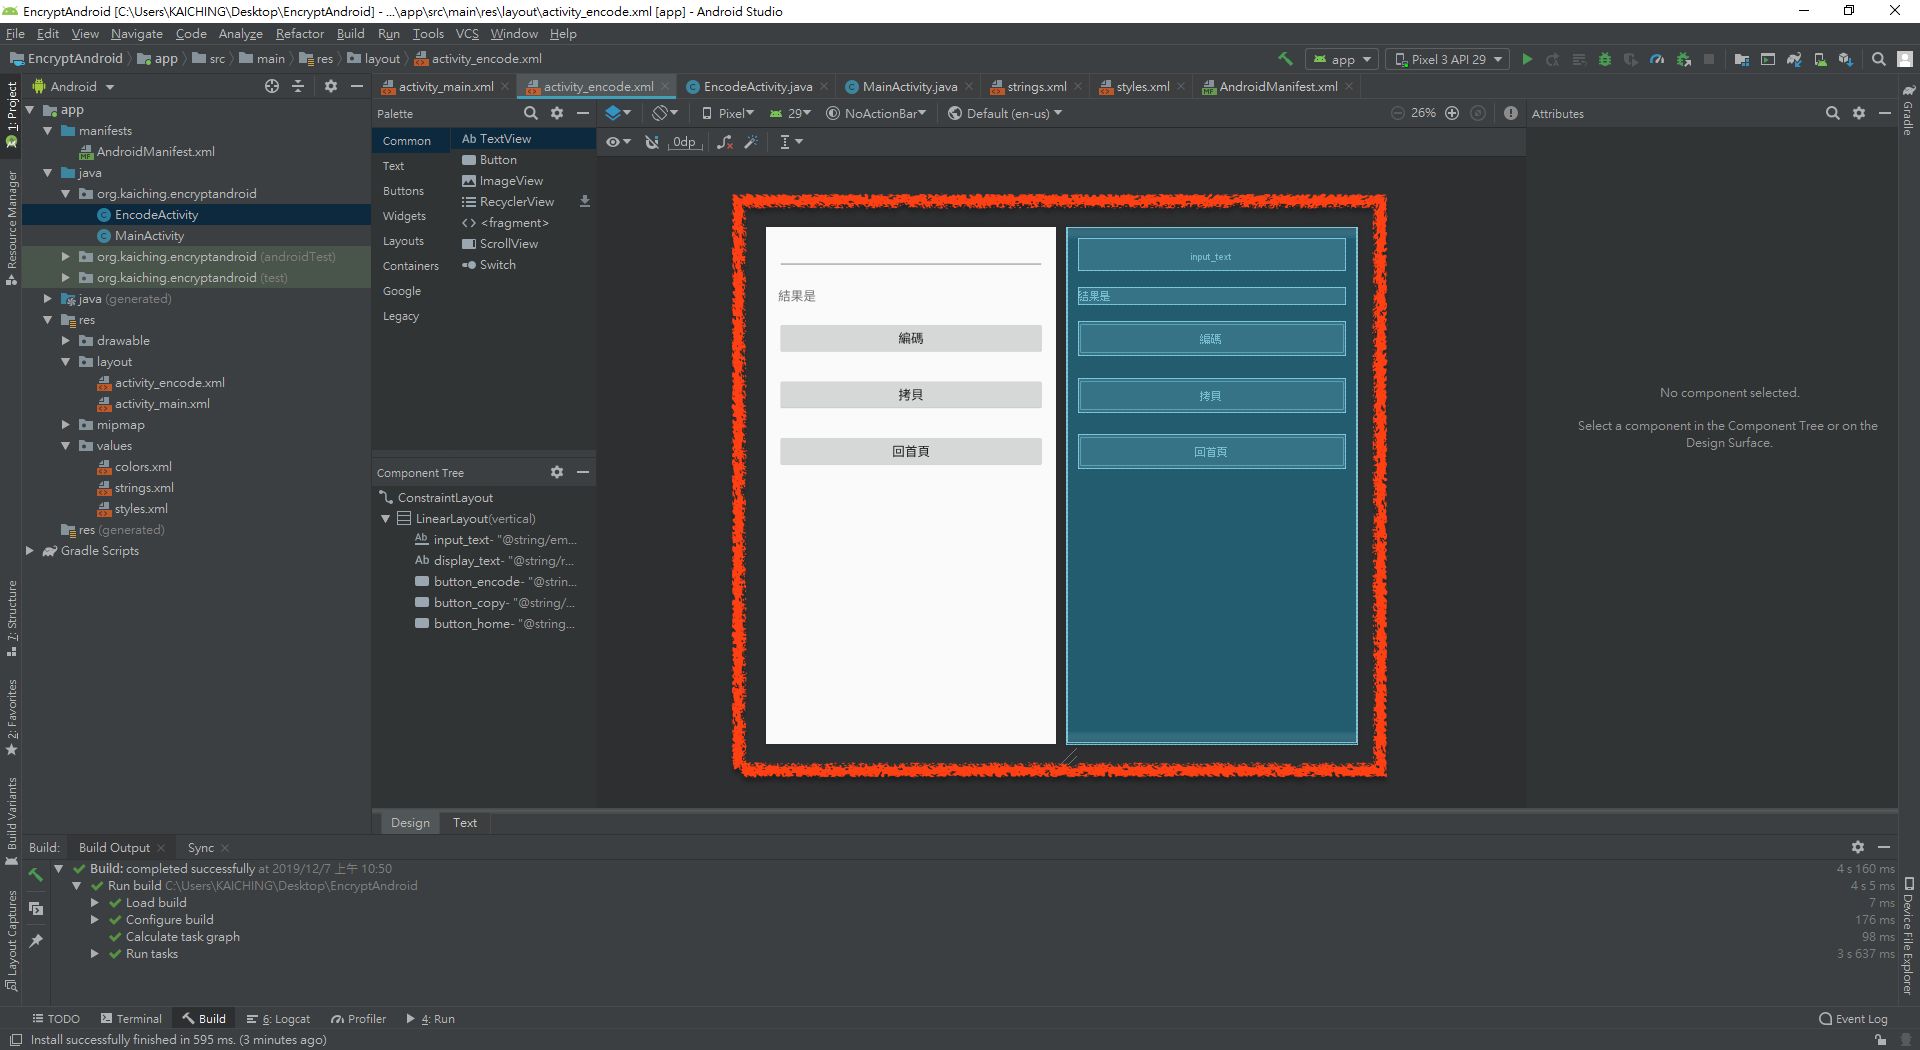
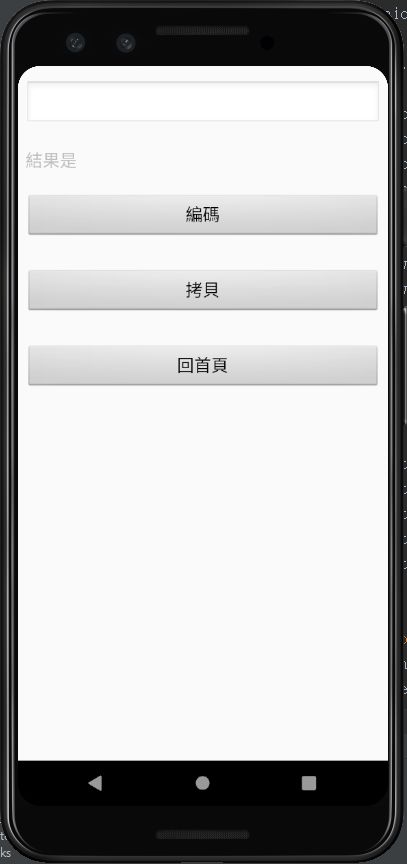
切換到 Design 頁籤,可以看到如下圖紅色框框顯示的 App 頁面
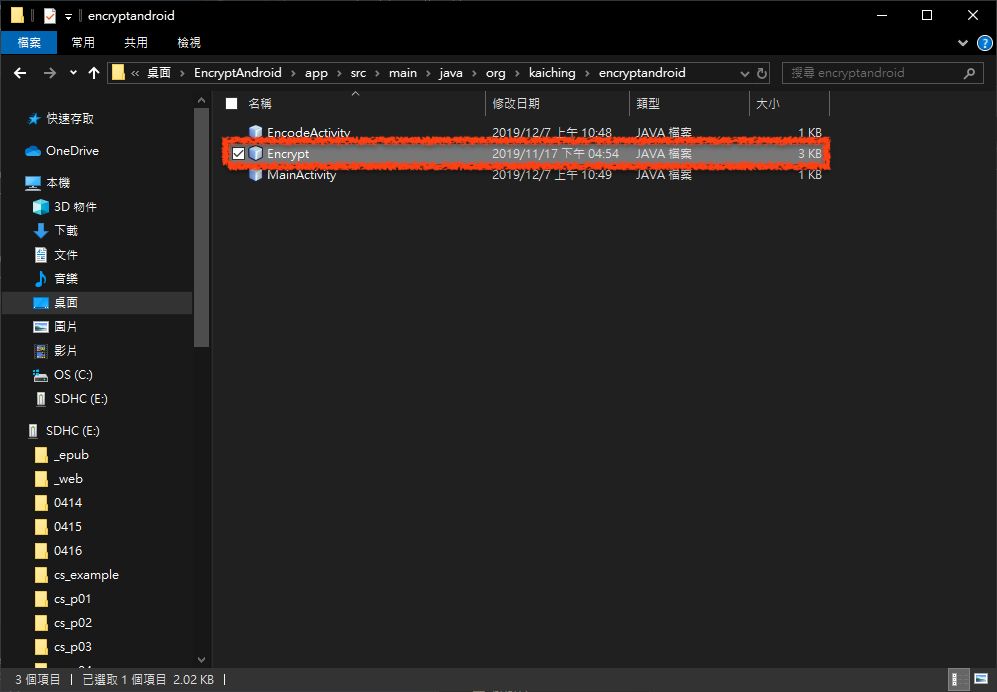
繼續要加入 Encrypt 類別 (class) ,先打開檔案總管,打開 Java 檔案的路徑

然後把 Encrypt 類別拷貝進來,如下紅色框框的檔案
回到 Android Studio ,就會在專案路徑看到新增的檔案,這時候還要開啟 Encrypt.java 修改 package
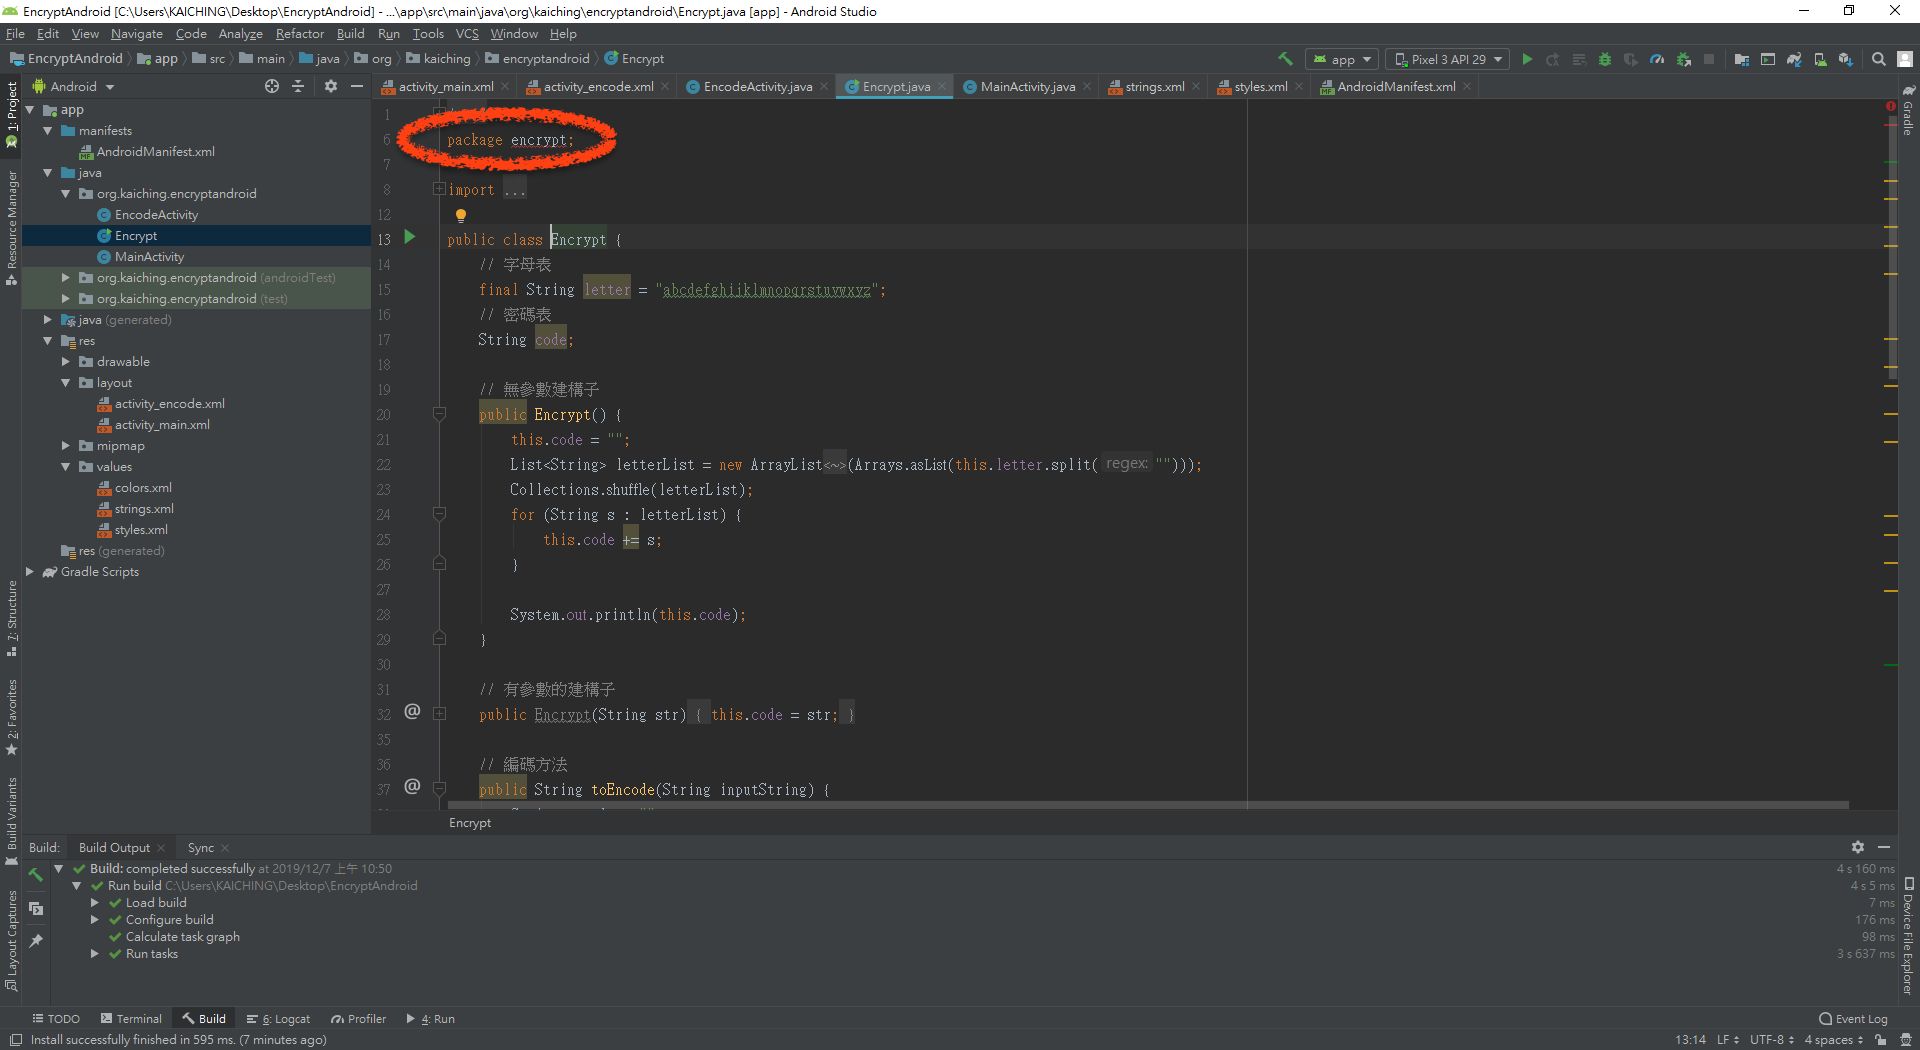
將 package 改成跟 Android 專案相同的設定
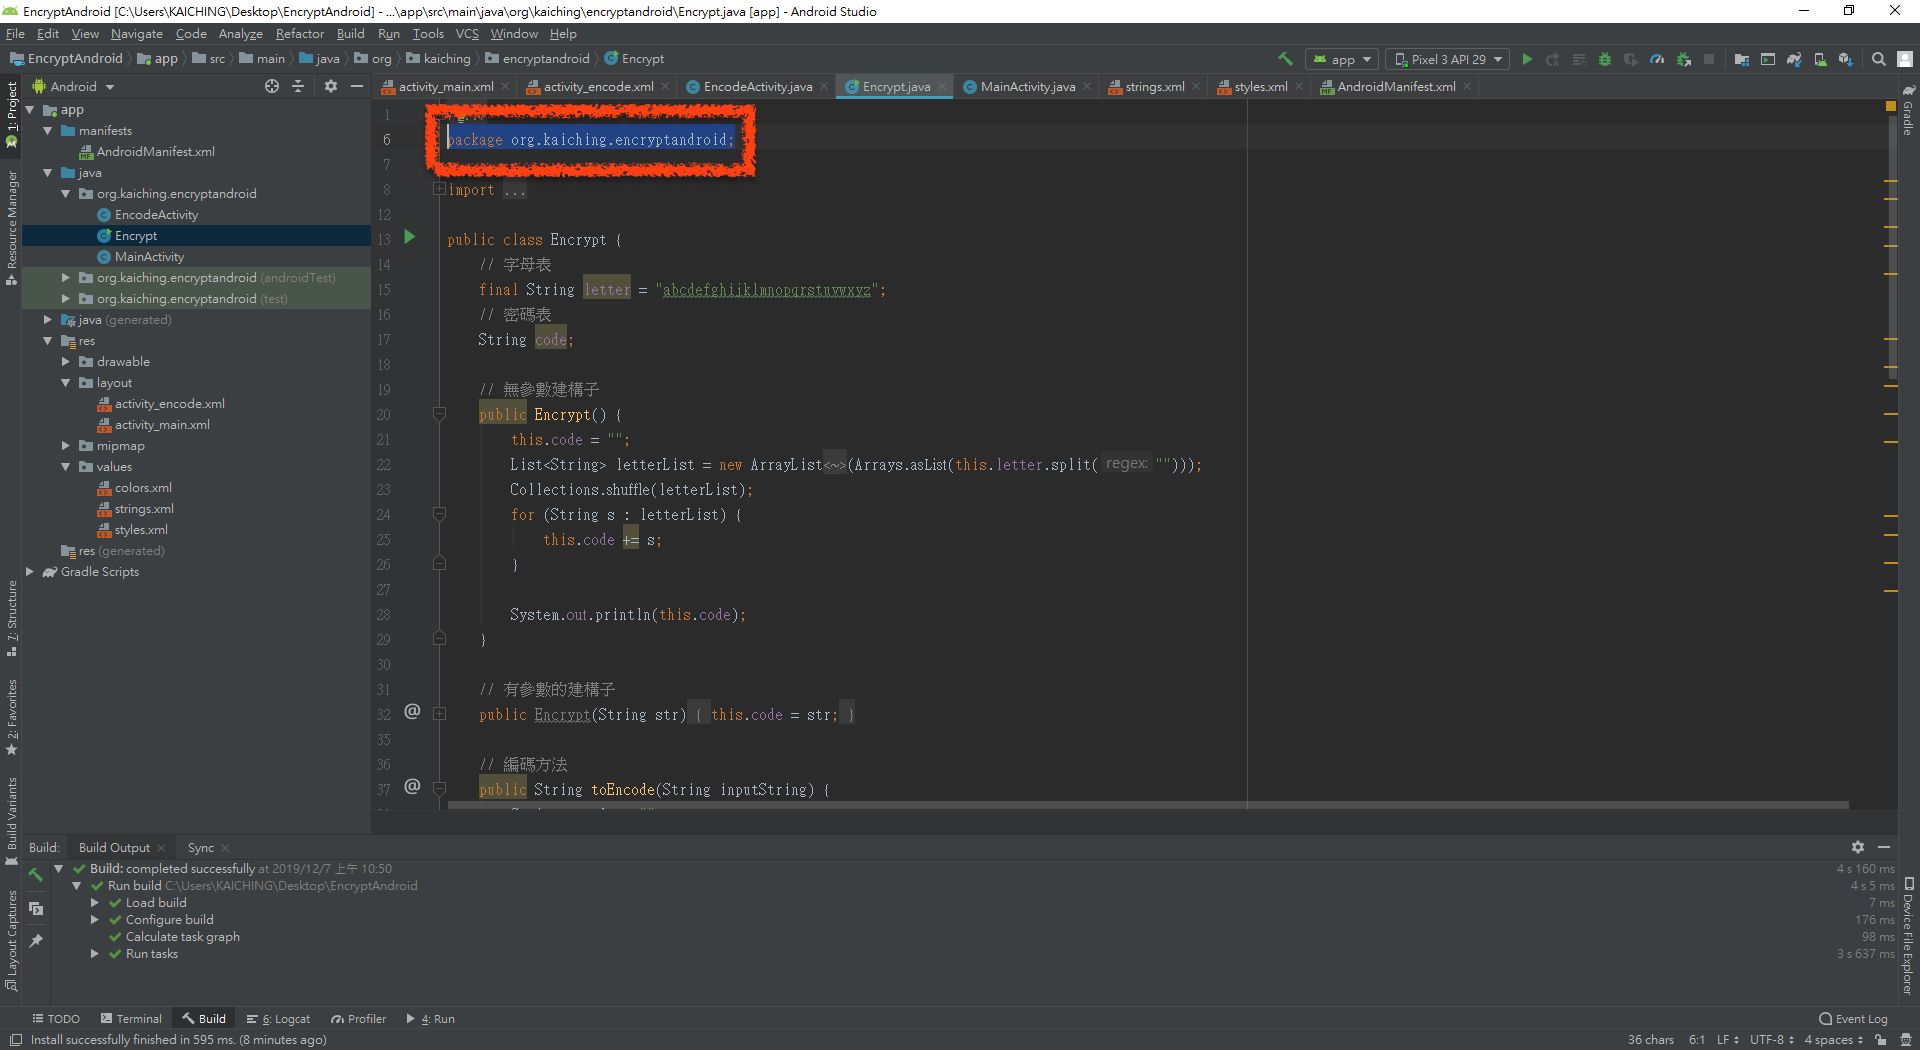
這裡 package 設定是作者的網址,請換成自己的網址或專案預設的套件 (package) 名稱。
然後切換到 EncodeActivity.java
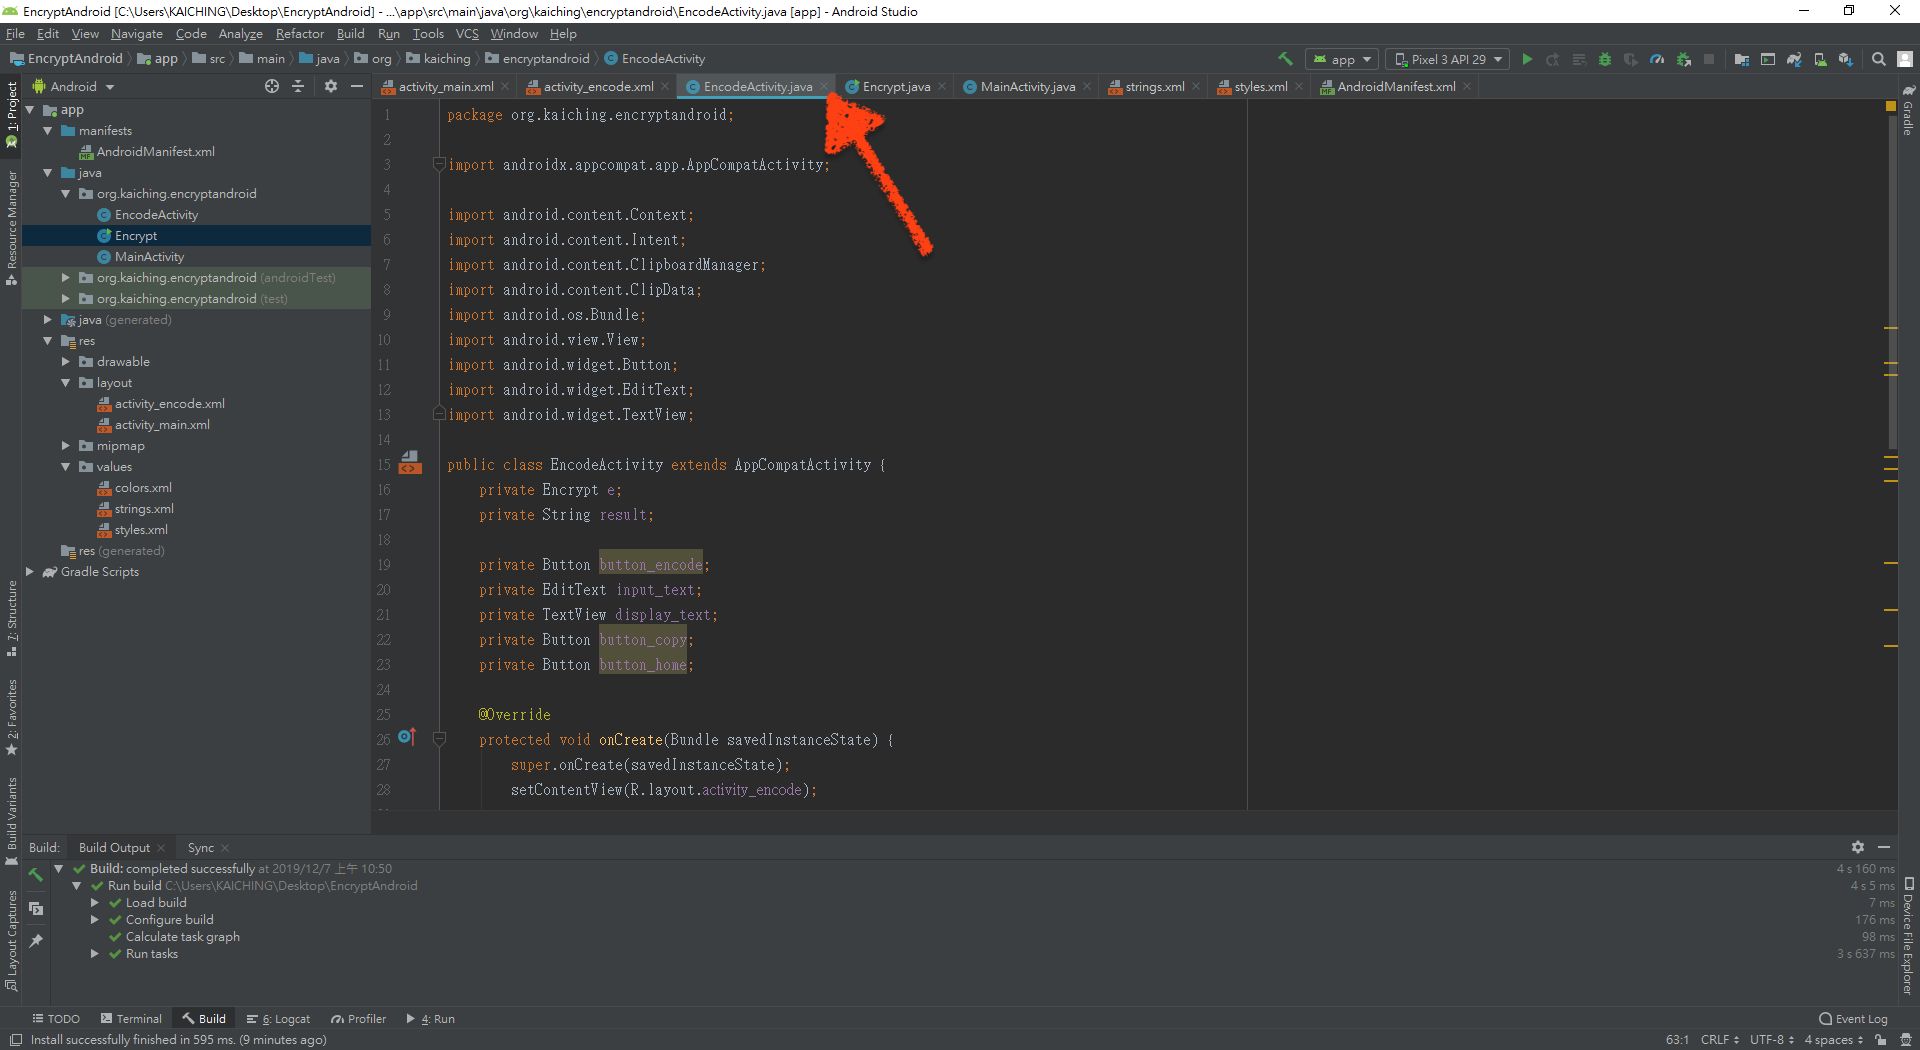
完整程式碼可以參考範例程式篇的 EncodeActivity.java 。
import 的部分請自行加入,以下分四個部分來討論,首先看到屬性 (field) 宣告的部分
private Encrypt e;
private String result;

private Button button_encode;
private EditText input_text;
private TextView display_text;
private Button button_copy;
private Button button_home;
這裡除了宣告密碼物件 Encrypt 的屬性 e 與儲存結果的字串 (string) result 外,也把所有 App 元件 (component) 提升為屬性。
在我們的例子中,其實並沒有必要把 App 元件宣告為屬性, Android Studio 也會提示例如只把 button_encode 宣告為 onCreate() 中的區域變數 (local variable) 即可,把 App 元件提升為屬性是可以方便在其他方法 (method) 中使用,這個例子並沒有定義其他的方法,僅作宣告為屬性的示範。
繼續看到在 onCreate() 中跟編碼按鈕有關的部分
button_encode = (Button) findViewById(R.id.button_encode);
input_text = (EditText) findViewById(R.id.input_text);
display_text = (TextView) findViewById(R.id.display_text);
button_encode.setOnClickListener(new View.OnClickListener() {
    @Override
    public void onClick(View v) {
        e = new Encrypt();
        result = e.toEncode(input_text.getText().toString());
        display_text.setText(result);
    }
});
這三行程式碼是先用 findViewById() 初始化跟編碼按鈕相關的 App 元件
button_encode = (Button) findViewById(R.id.button_encode);
input_text = (EditText) findViewById(R.id.input_text);
display_text = (TextView) findViewById(R.id.display_text);按下編碼按鈕的編碼工作是直接新建 Encrypt 型態的屬性,然後進行編碼,這裡編碼是用 getText() 取得文字內容,由於 getText() 回傳的是 Editable 型態,因此還需要用 toString() 轉換成字串,最後用 display_text 呼叫 setText() 並以 result 當參數
e = new Encrypt();
result = e.toEncode(input_text.getText().toString());
display_text.setText(result);再來是跟拷貝按鈕有關的部分
button_copy = (Button) findViewById(R.id.button_copy);
button_copy.setOnClickListener(new View.OnClickListener() {
    @Override
    public void onClick(View v) {
        ClipboardManager clipboard = (ClipboardManager) getSystemService(Context.CLIPBOARD_SERVICE);
        ClipData data = ClipData.newPlainText("text", result);
        clipboard.setPrimaryClip(data);
    }
});
利用 findViewById() 取得跟拷貝按鈕的 App 元件後,按下拷貝按鈕是 ClipboardManager 型態的物件變數 clipboard ,繼續利用 getSystemService() 取得系統剪貼簿物件,因此 clipboard 就會是系統剪貼簿物件,注意,這裡要以 Context.CLIPBOARD_SERVICE 當參數
ClipboardManager clipboard = (ClipboardManager) getSystemService(Context.CLIPBOARD_SERVICE);然後宣告 ClipData 型態的物件變數 data ,注意建立此變數是用 ClipData 的 newPlainText() 方法 (method) ,這是個 static 方法,第一個參數要用 "text" ,表示這是文字,然後要拷貝的文字當作第二個參數
ClipData data = ClipData.newPlainText("text", result);最後 clipboard 呼叫 setPrimaryClip() ,並以 data 當參數,就完成拷貝到剪貼簿的工作
clipboard.setPrimaryClip(data);回首頁按鈕同樣運用 Intent 物件切換回首頁
button_home = (Button) findViewById(R.id.button_home);
button_home.setOnClickListener(new View.OnClickListener() {
    @Override
    public void onClick(View v) {
        Intent main2ActivityIntent = new Intent(EncodeActivity.this, MainActivity.class);
        startActivity(main2ActivityIntent);
    }
});好了,來試看看囉!開啟模擬器後,先按開始編碼
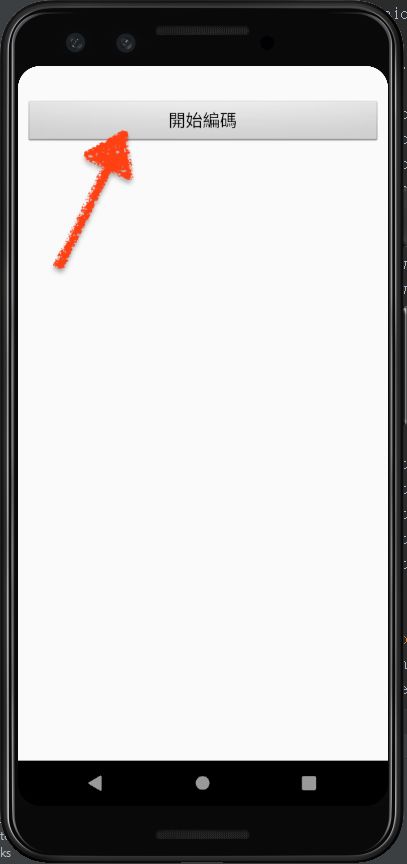
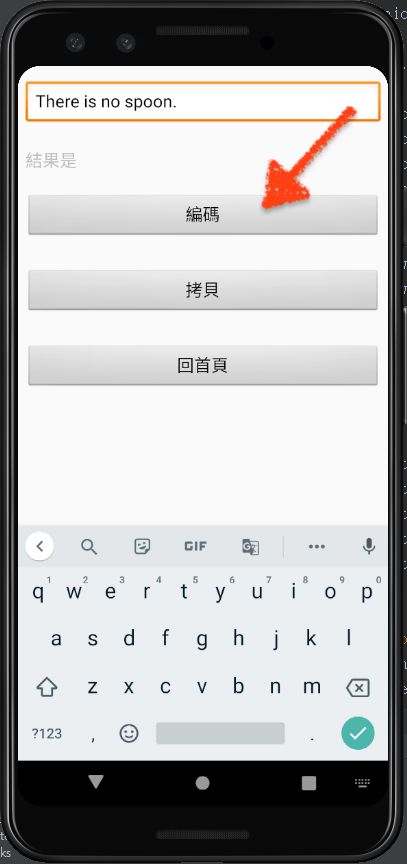
然後進入到編碼頁
輸入完英文句子後,按編碼
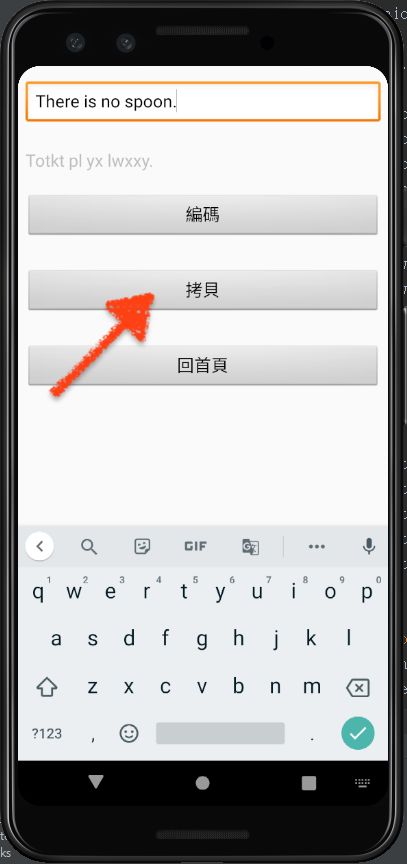
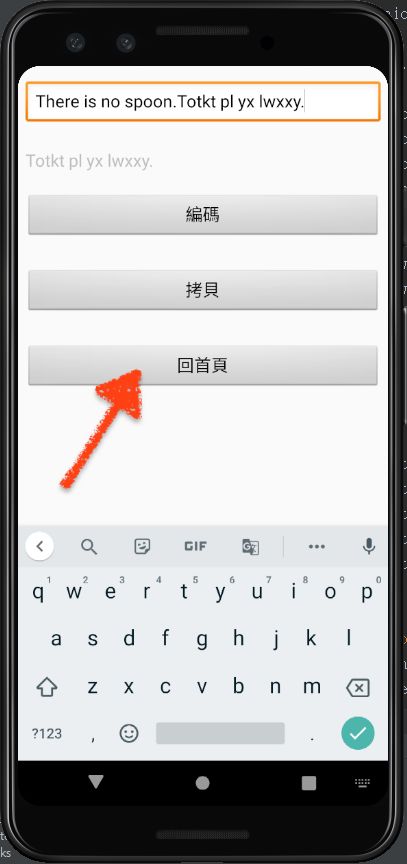
結果就會顯示在上方,繼續按拷貝
在 EditText 的地方長按,就會出現 Paste 的按鈕,這時候點擊 Paste
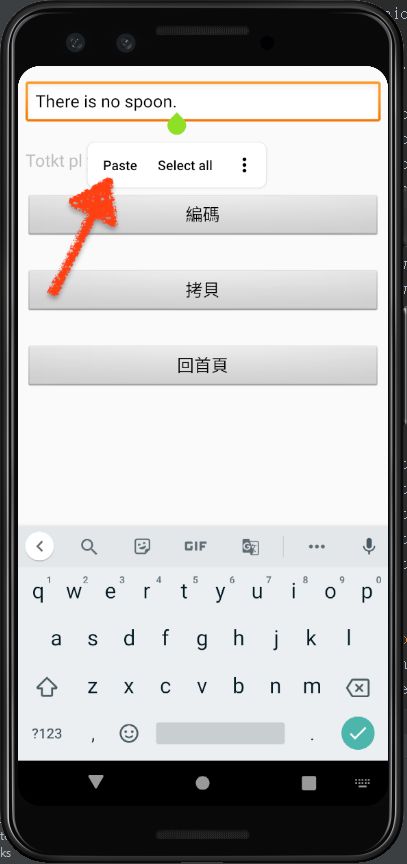
編碼結果就會複製到同一個 EditText 中,繼續按回首頁
這樣就會到了 App 的首頁

這樣 Encrypt 類別就順利移植到了 Android 平台上,不過如果要上架 Google Play ,還要先設定 App 的圖示跟實際安裝到 Android 手機進行測試。
相關教學影片

| 中英文術語對照 | |
|---|---|
| class | 類別 |
| component | 元件 |
| field | 屬性 |
| local variable | 區域變數 |
| method | 方法 |
| package | 套件 |
| string | 字串 |
| 參考資料 | |
|---|---|
| 1. Android Developers | Build a simple user interface | |
| 2. Android Developers | Start another activity | |
| 3. Android Developers | ClipboardManager | |
| 4. Android Developers | ClipData | |
| 重點整理 |
|---|
| 1. 在 <EditText> 中,如果不設定 autofillHints ,就要將 importantForAutofill 設定為 no ,至於針對 API 小於 26 的手機要加入 tools:ignore 。 |
| 2. 可以直接將 Java 檔案拷貝到 Android 專案中,加入後要修改 Java 檔案的 package 。 |
| 問題與討論 |
|---|
| 1. 為什麼要把 App 元件的變數提升為屬性?。 |
| 2. 為什麼要把新增 Java 檔案的 package 改成跟專案相同? |
| 練習 |
|---|
| 1. 承接上一單元的 HelloAndroidDemo 專案,建立 count 屬性,並且在建構子將 count 設定為 0 ,然後在按鈕的點擊方法中將 count 遞增,再計算 count 除以 2 的餘數,若餘數為 0 ,將按鈕設定為 string.h 中的「點我」, TextView 設定為「你好」,反之設定成另一組文字。 |
| 2. 承接上一單元的 GuessAndroidDemo 專案,將「單元 26」 JavaFX GuessGameDemo 專案的程式功能移植到 GuessAndroidDemo ,注意屬性、方法等要做相對應的調整。 |