
EPUB 入門指南
單元 3 - 如何製作及驗證 EPUB 檔案
製作及驗證 EPUB 檔案的流程如下
- 第一次以不壓縮的方式將 mimetype 加入 EPUB 檔案。
- 第二次將 META-INF 及 OEBPS 壓縮加入 EPUB 檔案,此時就製作好 EPUB 檔案。
- 使用驗證器驗證製作出的 EPUB 檔案是否有效,如果無效,就會顯示需要修改的出錯部分,然後回到步驟 1 。
以下分別介紹在 Mac 及 Windows 製作 EPUB 檔案的工具,本書採用免費、開源的工具,驗證 EPUB 檔案的驗證器也是用 EPUB 標準官方 IDPF 推出的工具,無論製作或驗證工具都無需購買。
IDPF 在 2017 年 1 月已轉移到 W3C ,網址在 https://www.w3.org/publishing/ 。
工具
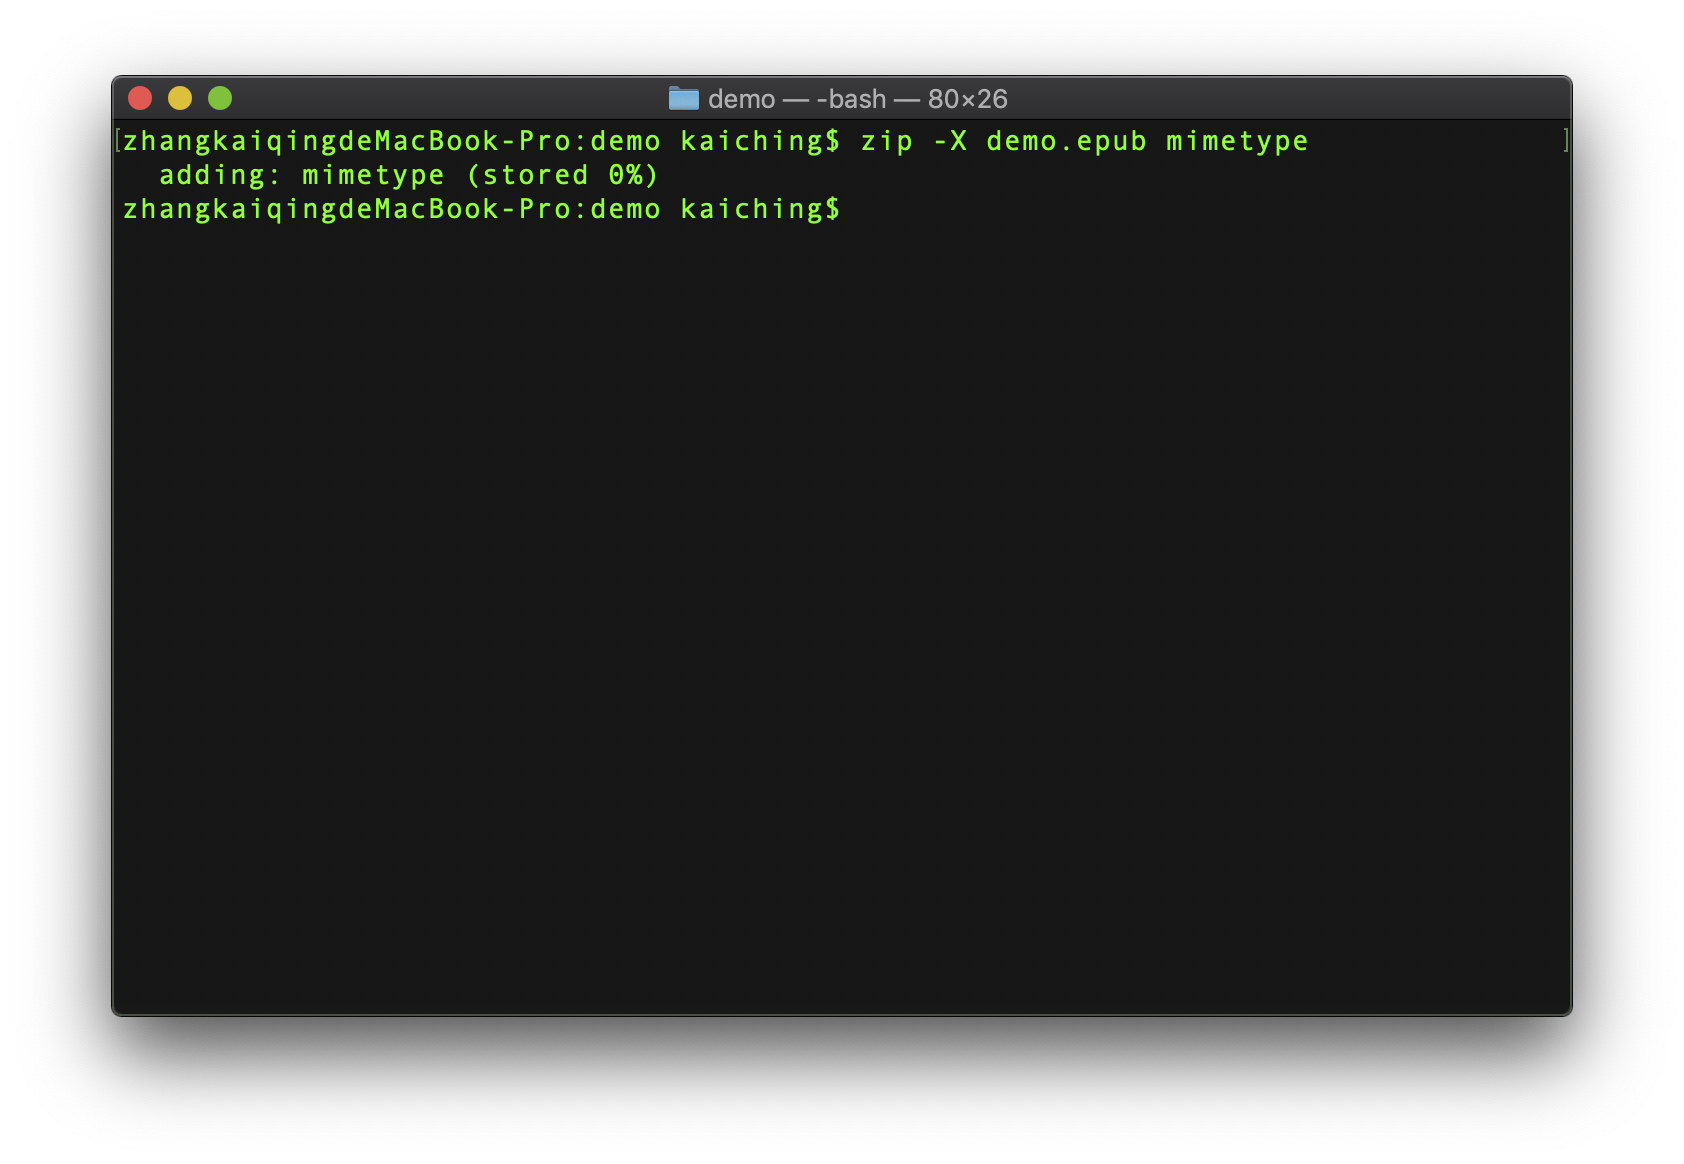
在 Mac 採用內建的 zip 壓縮指令製作,指令如下
zip -X bookname.epub mimetype
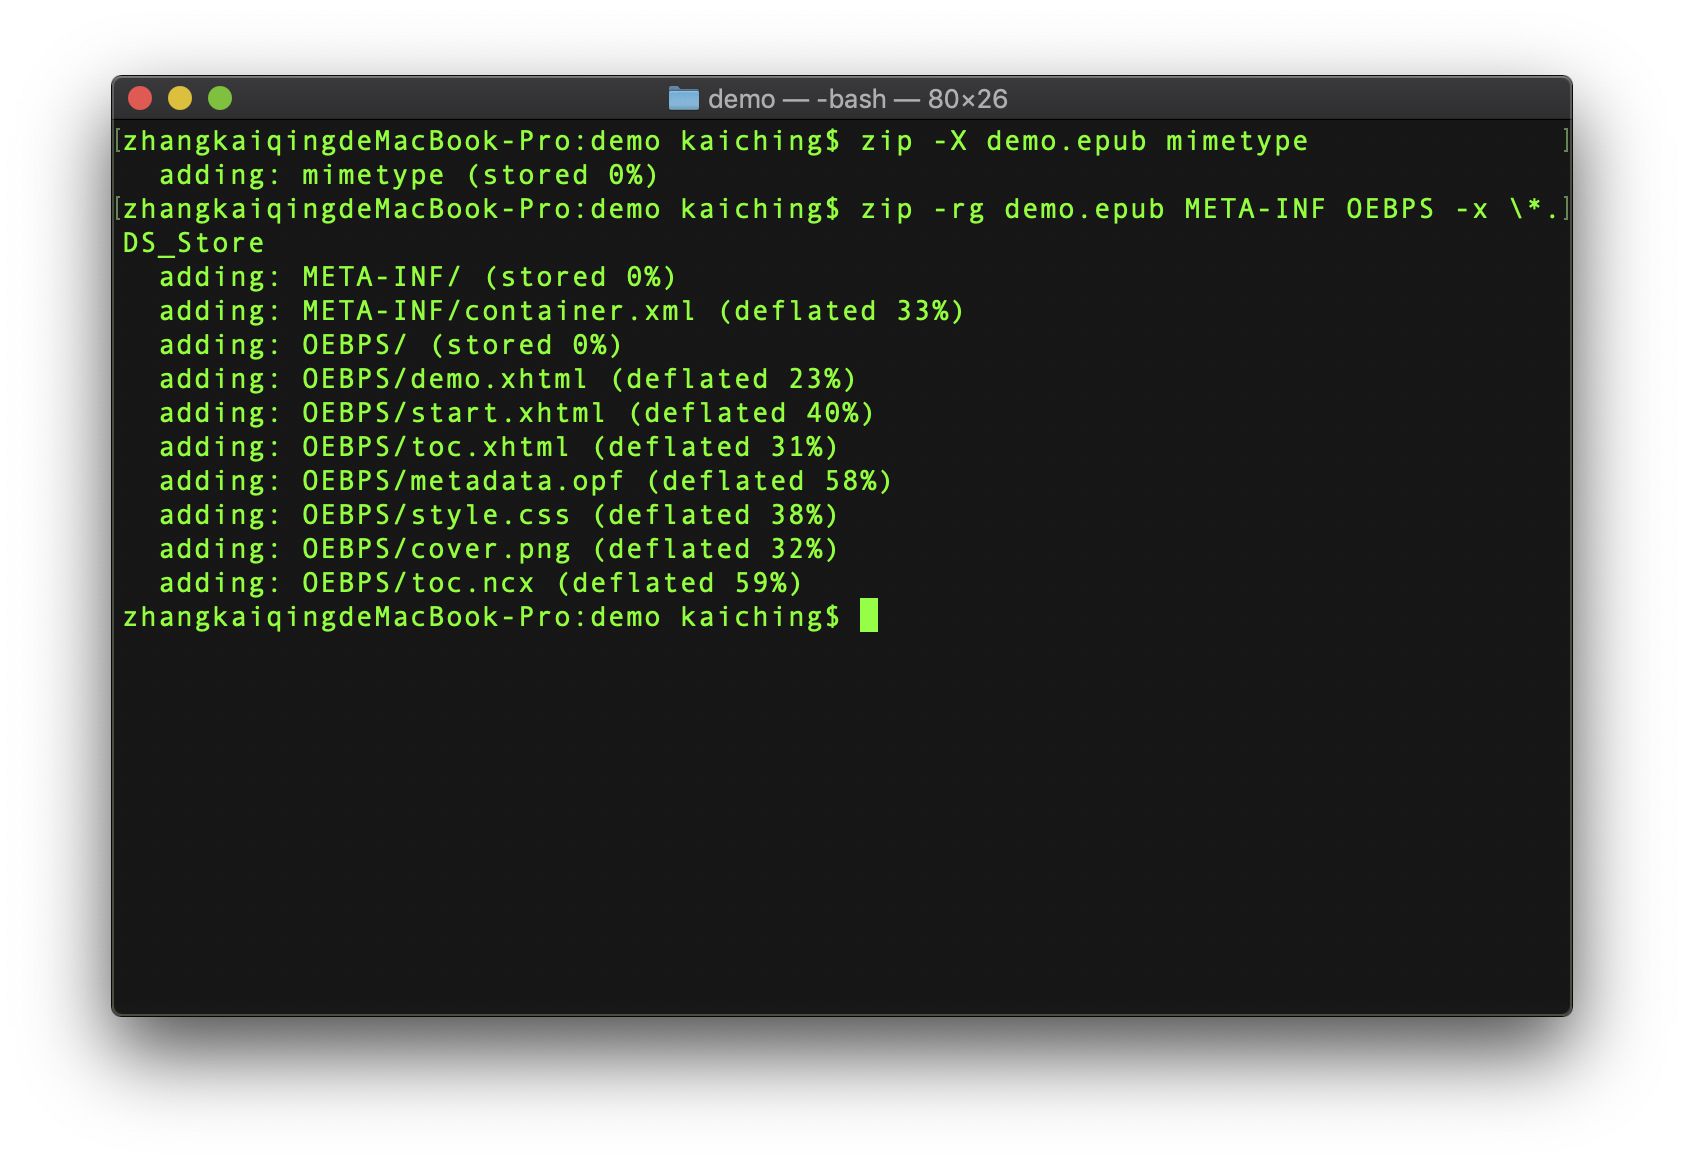
zip -rg bookname.epub META-INF OEBPS -x \*.DS_Store
以上需要執行兩次, bookname 為 EPUB 檔案名稱,可以自訂,其他參數保留一樣即可。
在 Windows 採用第三方工具 ePubPack ,網址如下
https://sourceforge.net/projects/epubpack/
驗證工具採用跨平台的 EPUB-Checker ,這是官方驗證工具的圖形軟體,網址如下
https://www.pagina.gmbh/produkte/epub-checker/
Mac
Mac 中需要打開「終端機」,然後切換到指定路徑
cd Desktop/demo
然後依序在「終端機」輸入上述兩列 zip 指令,電子書檔案名稱改為 demo.epub
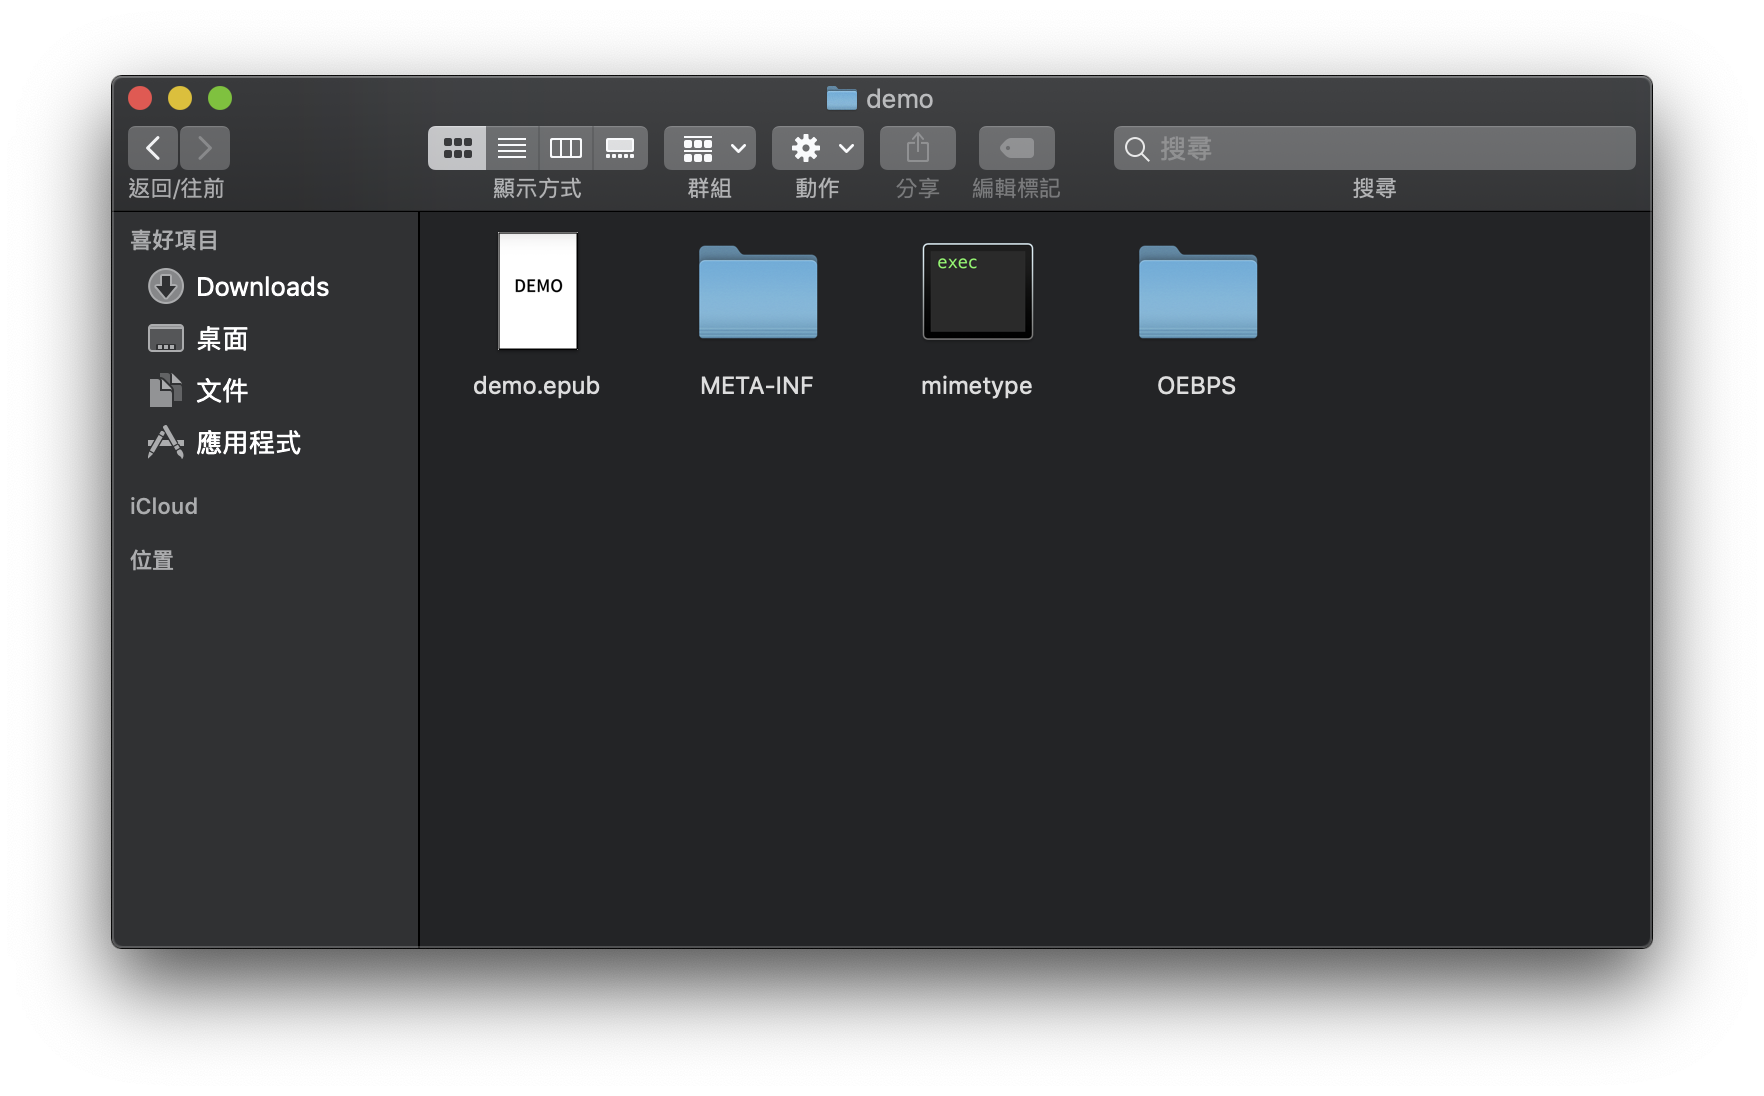
這時候做電子書的資料夾就出現電子書的 EPUB 檔案,如下
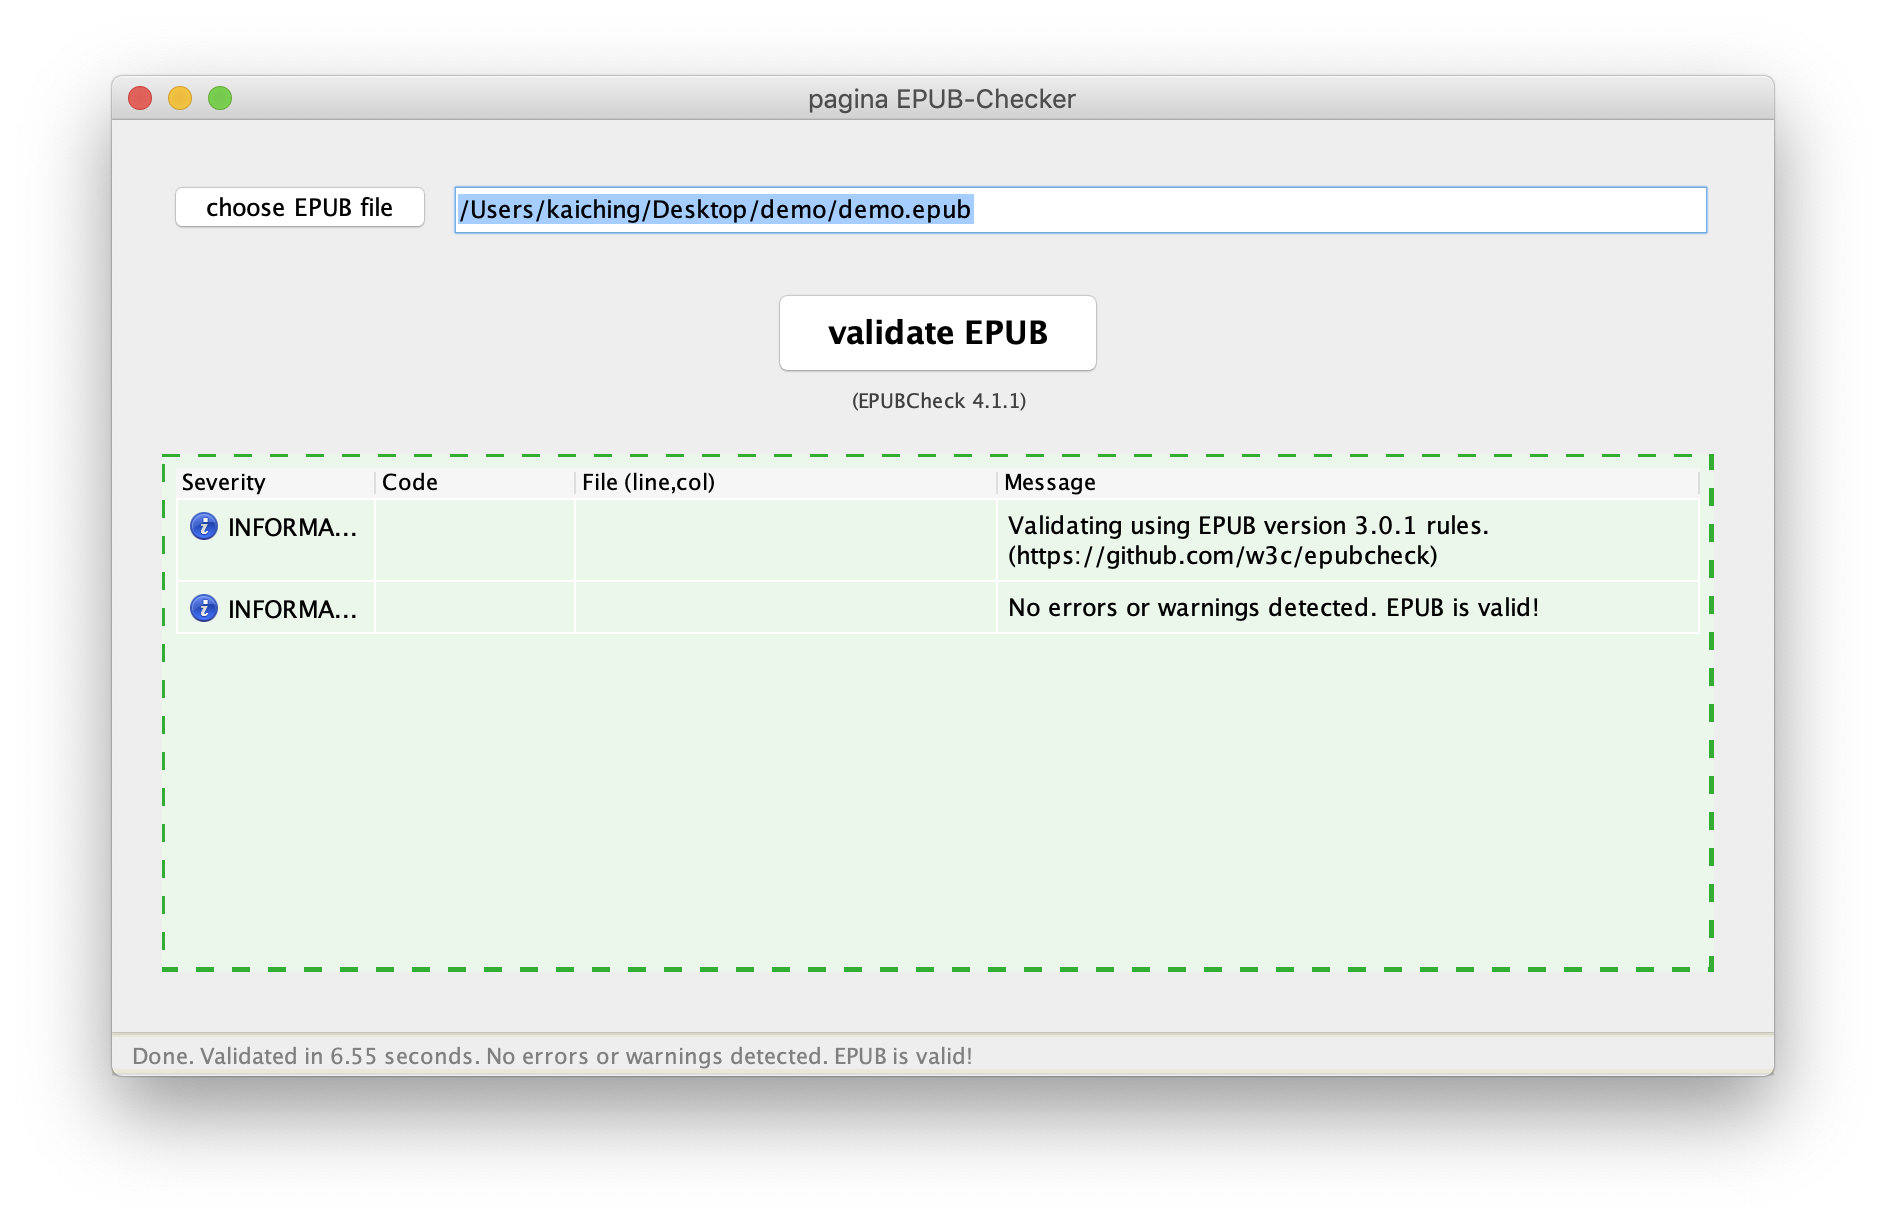
繼續做驗證,按滑鼠右鍵用 EPUB-Checker 開啟檔案,結果如下
Windows
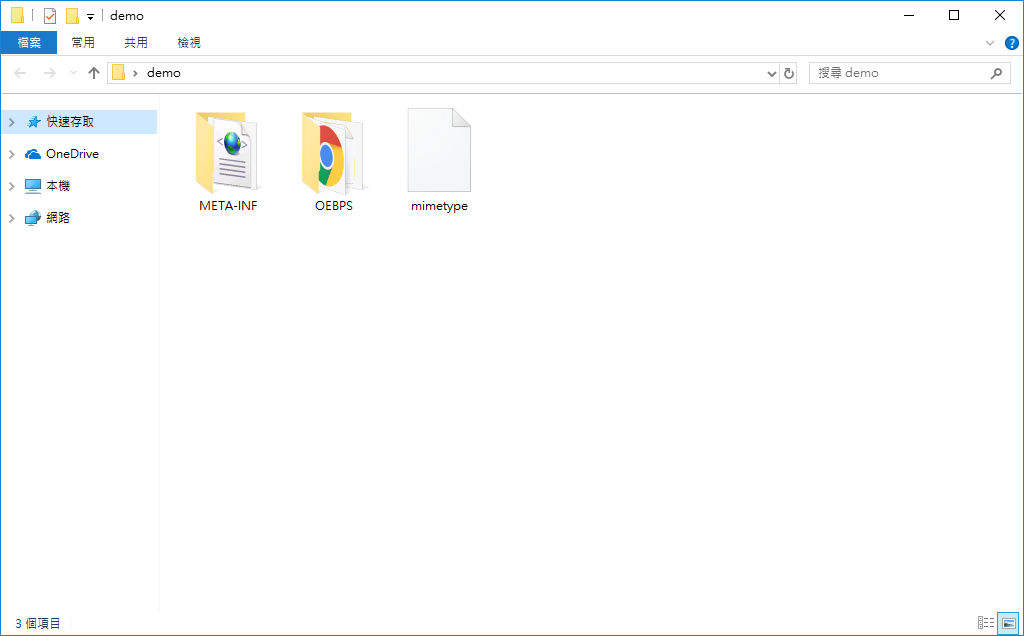
這邊先看到在 Windows 中製作 EPUB 的資料夾 demo
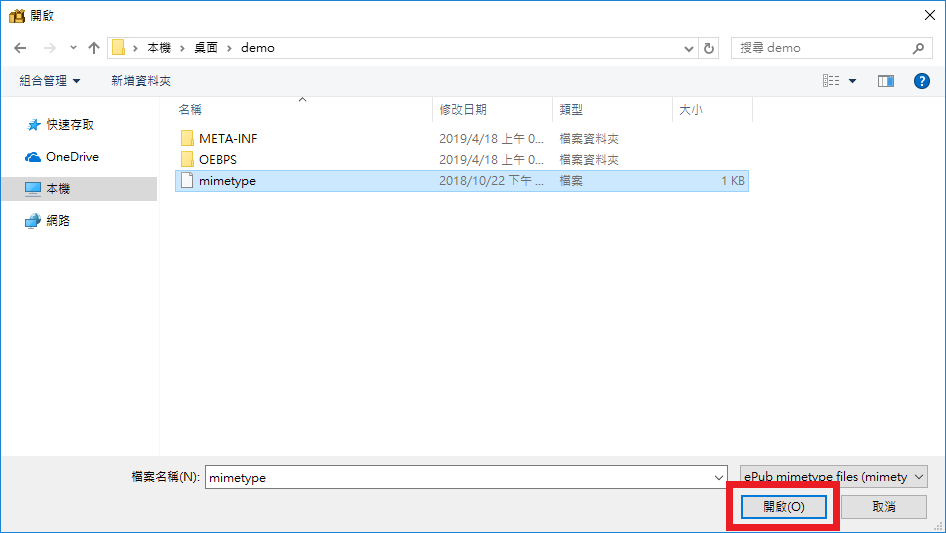
打開 ePubPack ,要先選擇 mimetype 檔案,因此要先點擊 Select

這邊選取 demo 資料夾中的 mimetype ,然後點擊 開啟
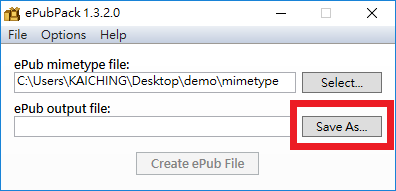
接下來要選擇輸出檔案,繼續點擊 Save As 按鈕
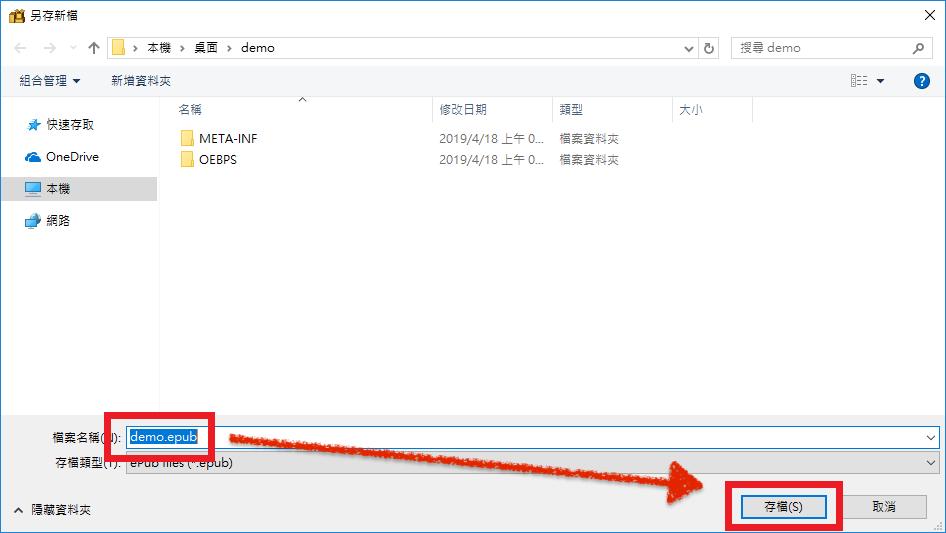
輸入檔案名稱 demo.epub ,然後點擊 存檔
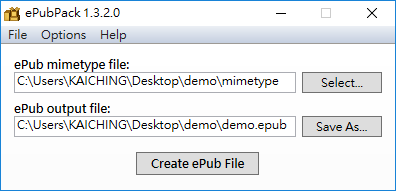
設定好的 ePubPack 如下,最後點擊 Create ePub File
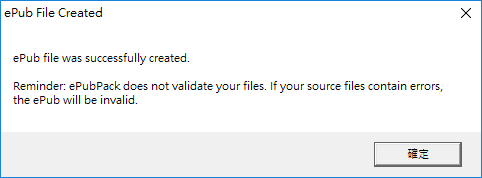
出現建立 EPUB 檔案成功視窗,就表示檔案建立完成
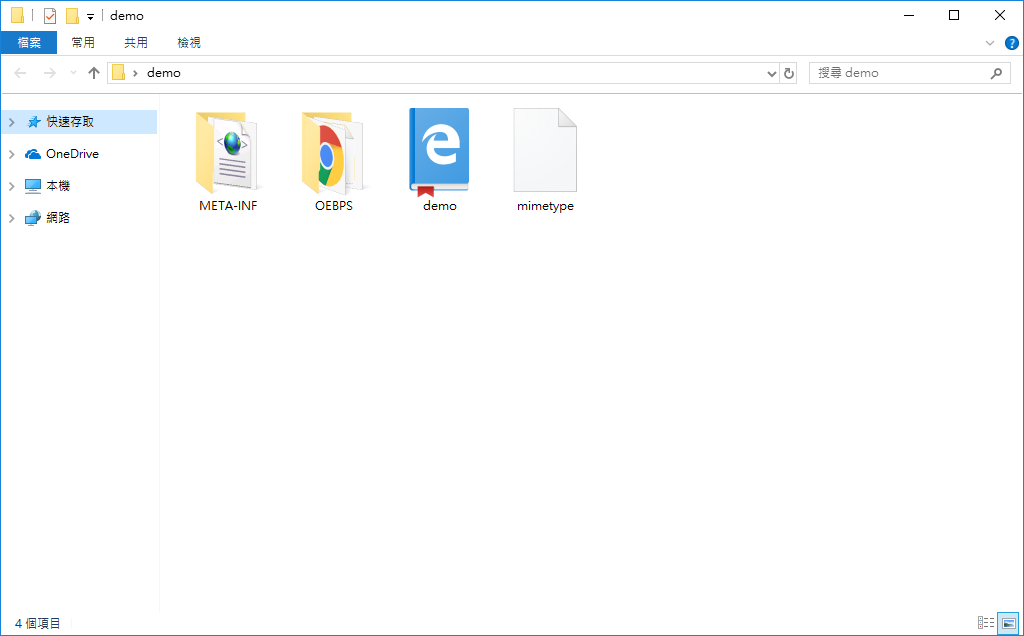
最後可以在 demo 資料夾看到新增的 demo.epub
在 Windows 中使用 EPUB-Checker 的驗證方式跟 Mac 一樣,如果 EPUB-Checker 沒有出現在滑鼠右鍵的快顯功能表,請先開啟 EPUB-Checker 視窗後,再選擇 EPUB 檔案的路徑。