
C# 入門指南
單元 30 - 首頁
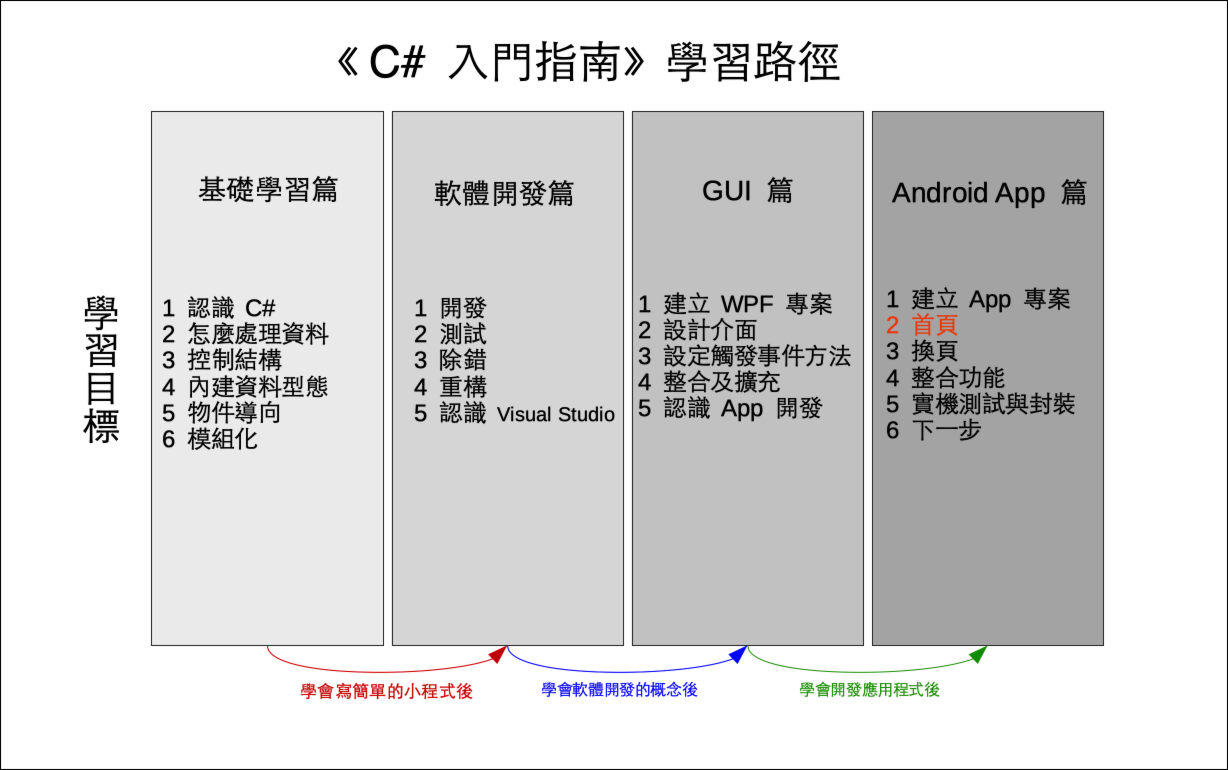
~~學習進度表~~
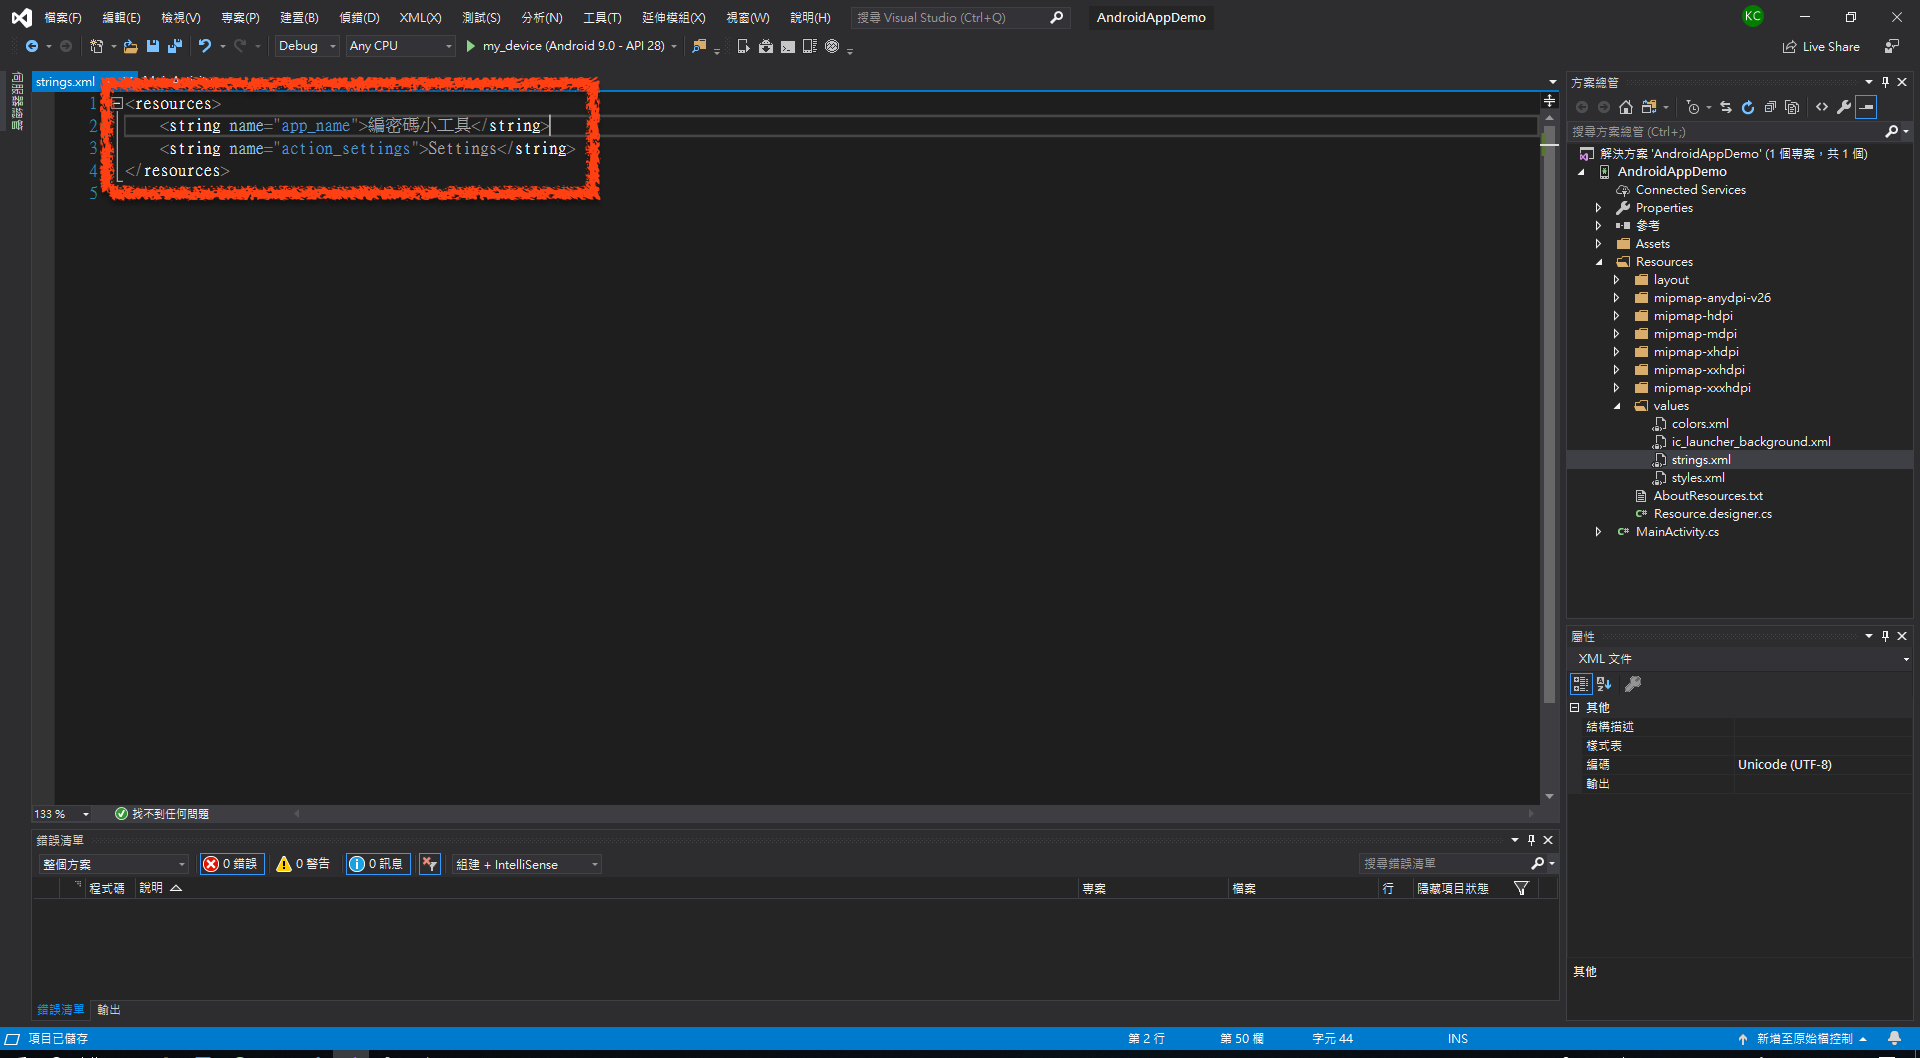
這裡先在方案總管的 📁Resources 的 📁values 開啟 string.xml

string.xml 是記錄 App 內的設定的字串 (string) ,這裡將 name="app_name" 的標籤內文字改成「編密碼小工具」,如下
重新回到 activity_main.xml
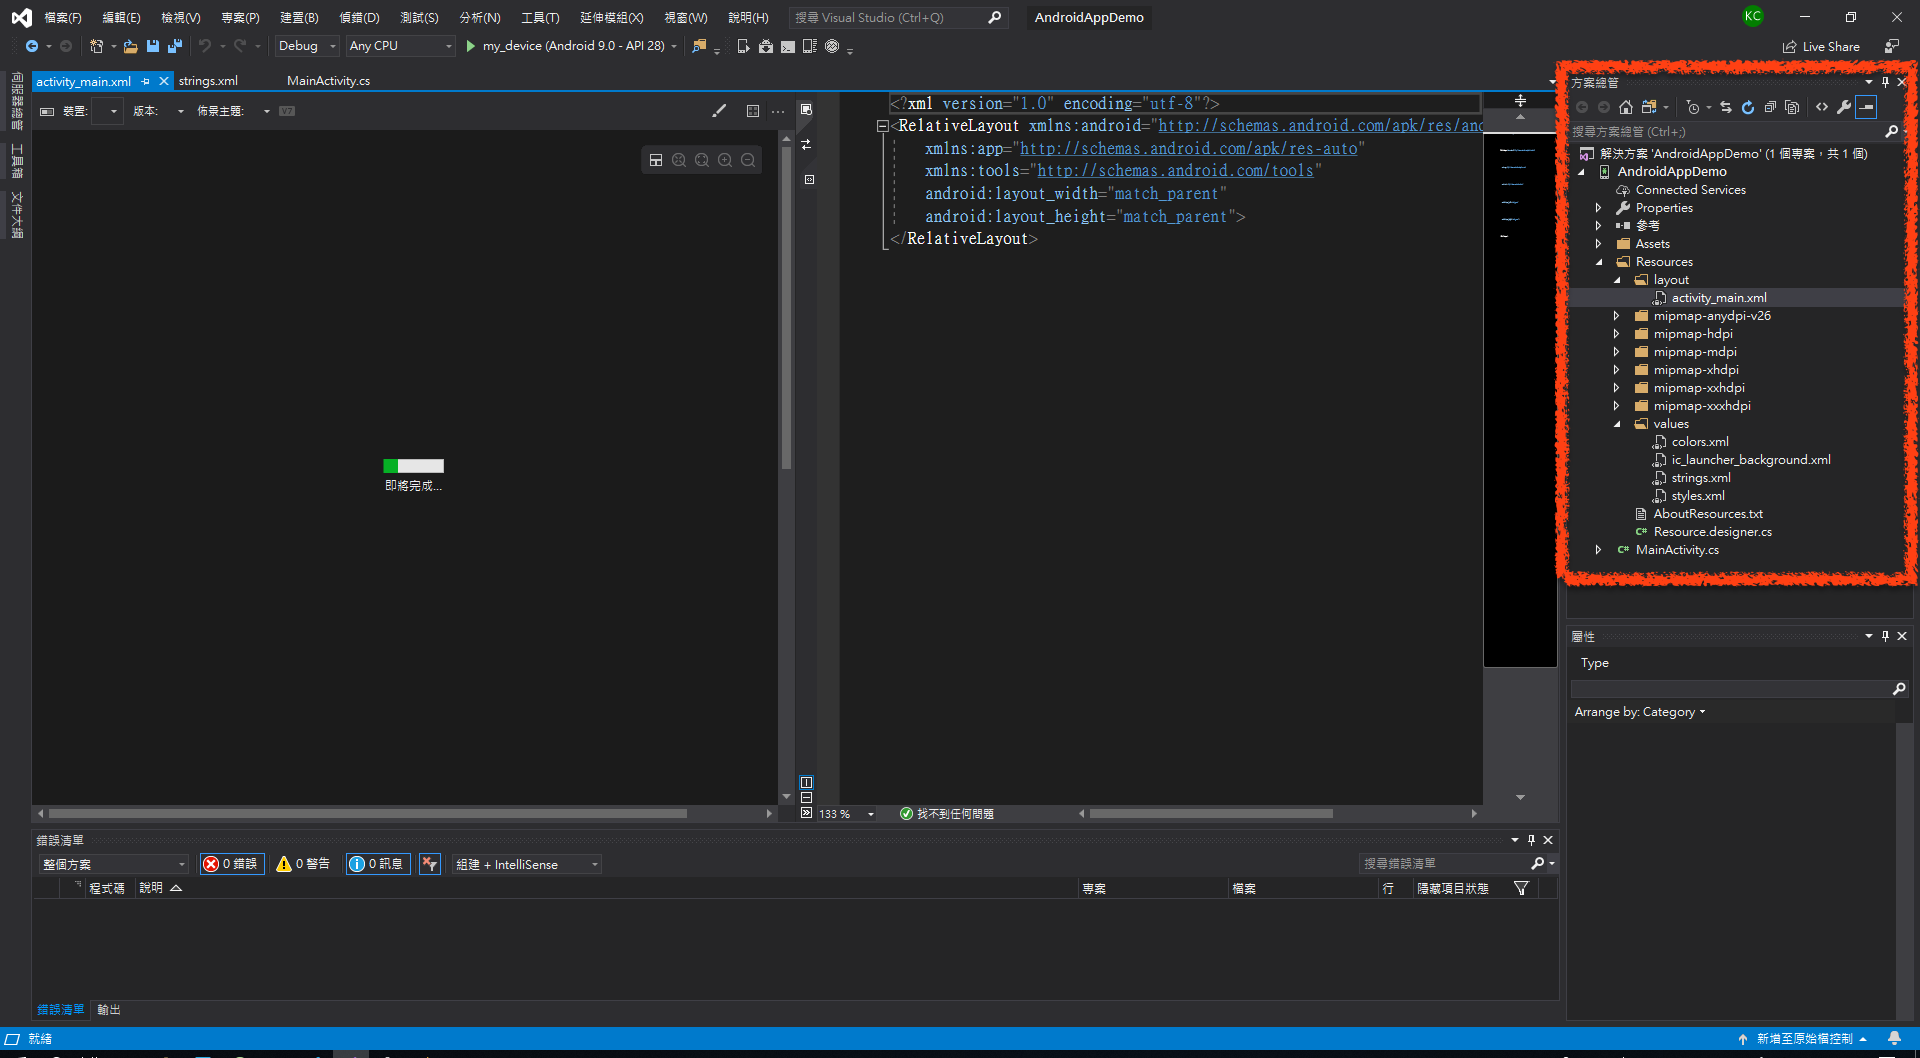
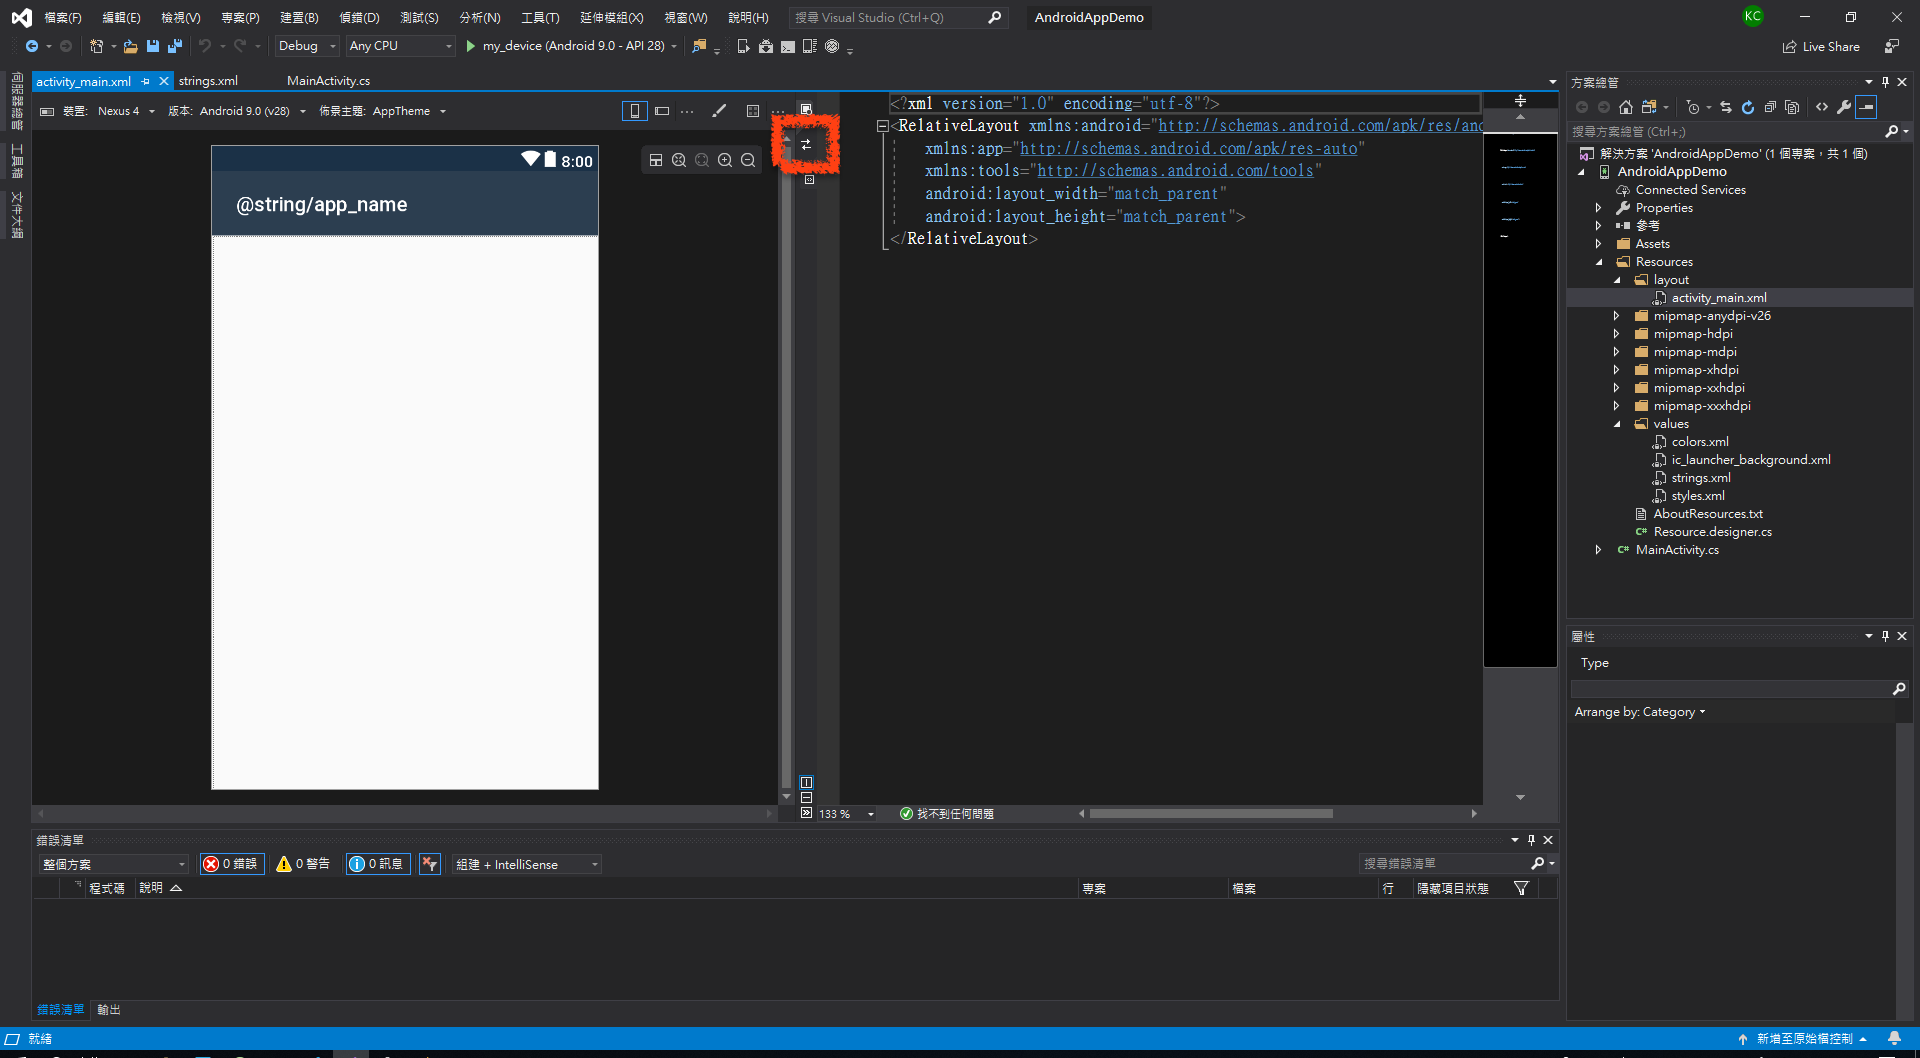
此時原本頁面的標題已經改成 @string/app_name ,也就是這部分會顯示 string.xml 中 name="app_name" 標籤圍起來的文字,繼續按中間的互換鍵
注意頁面的 activity_main.xml 最外層的標籤是 <RelativeLayout> ,這是 activity_main.xml 的排版模式,這是新建專案 Activity 的預設排版模式,第二個頁面的排版模式會換成用 <LinearLayout> 。
這時候從「工具箱」拖曳一個按鈕 Button 到頁面上
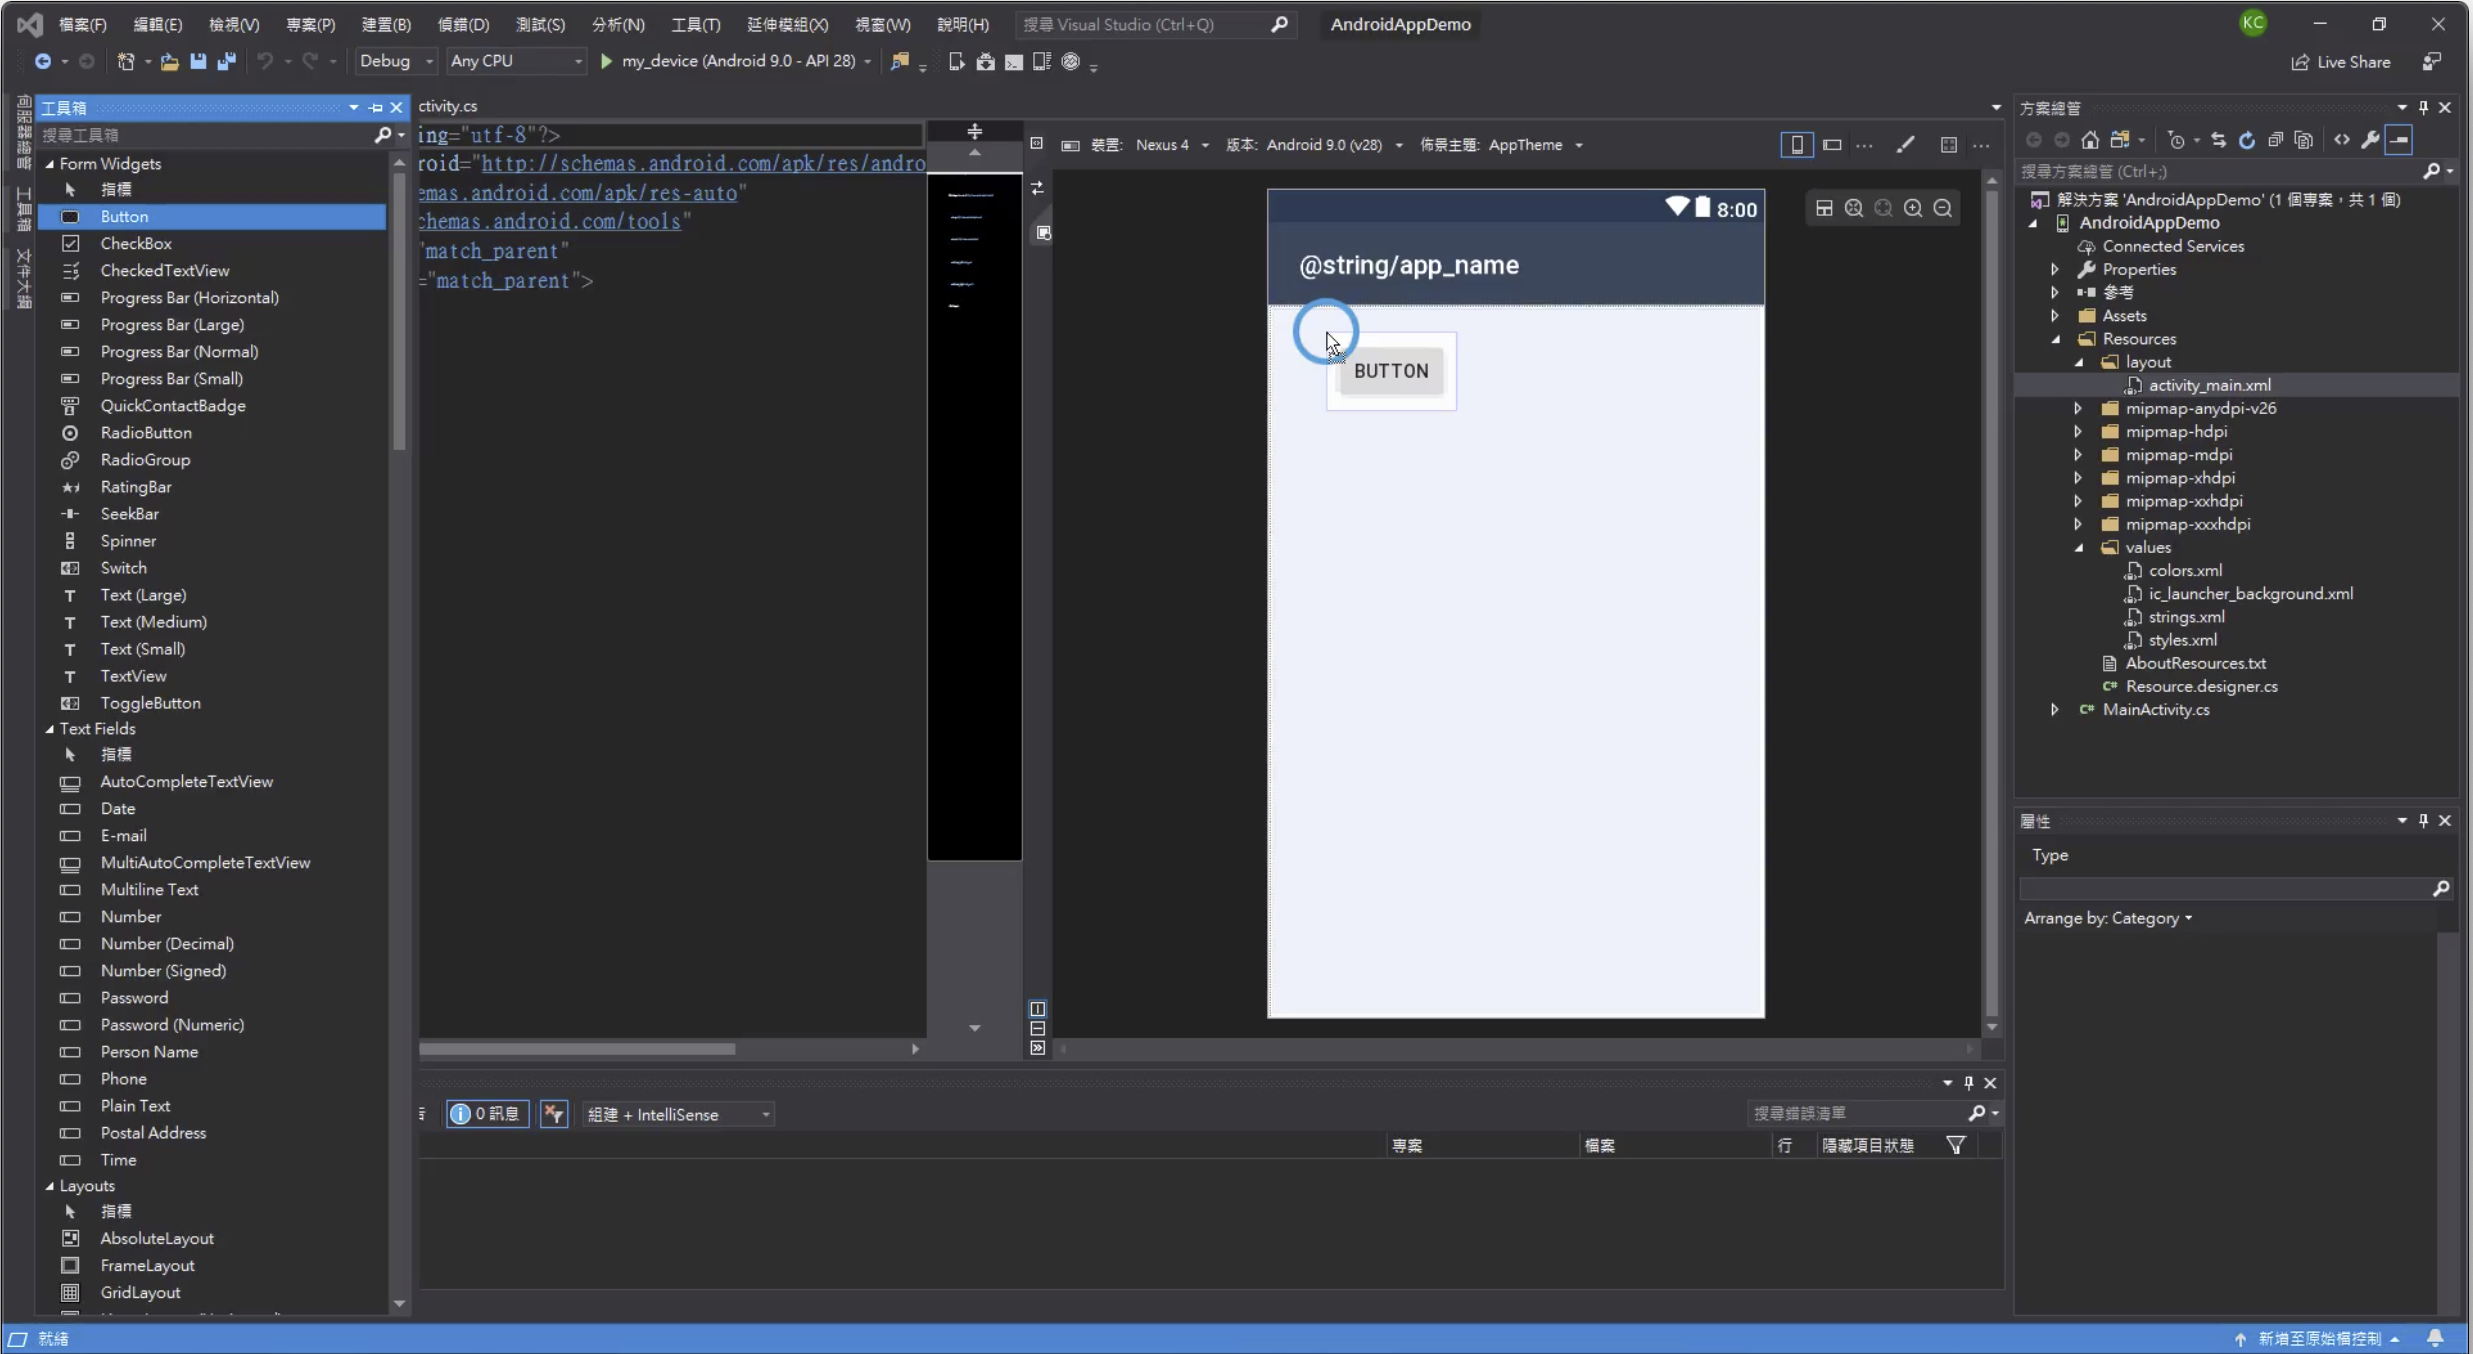
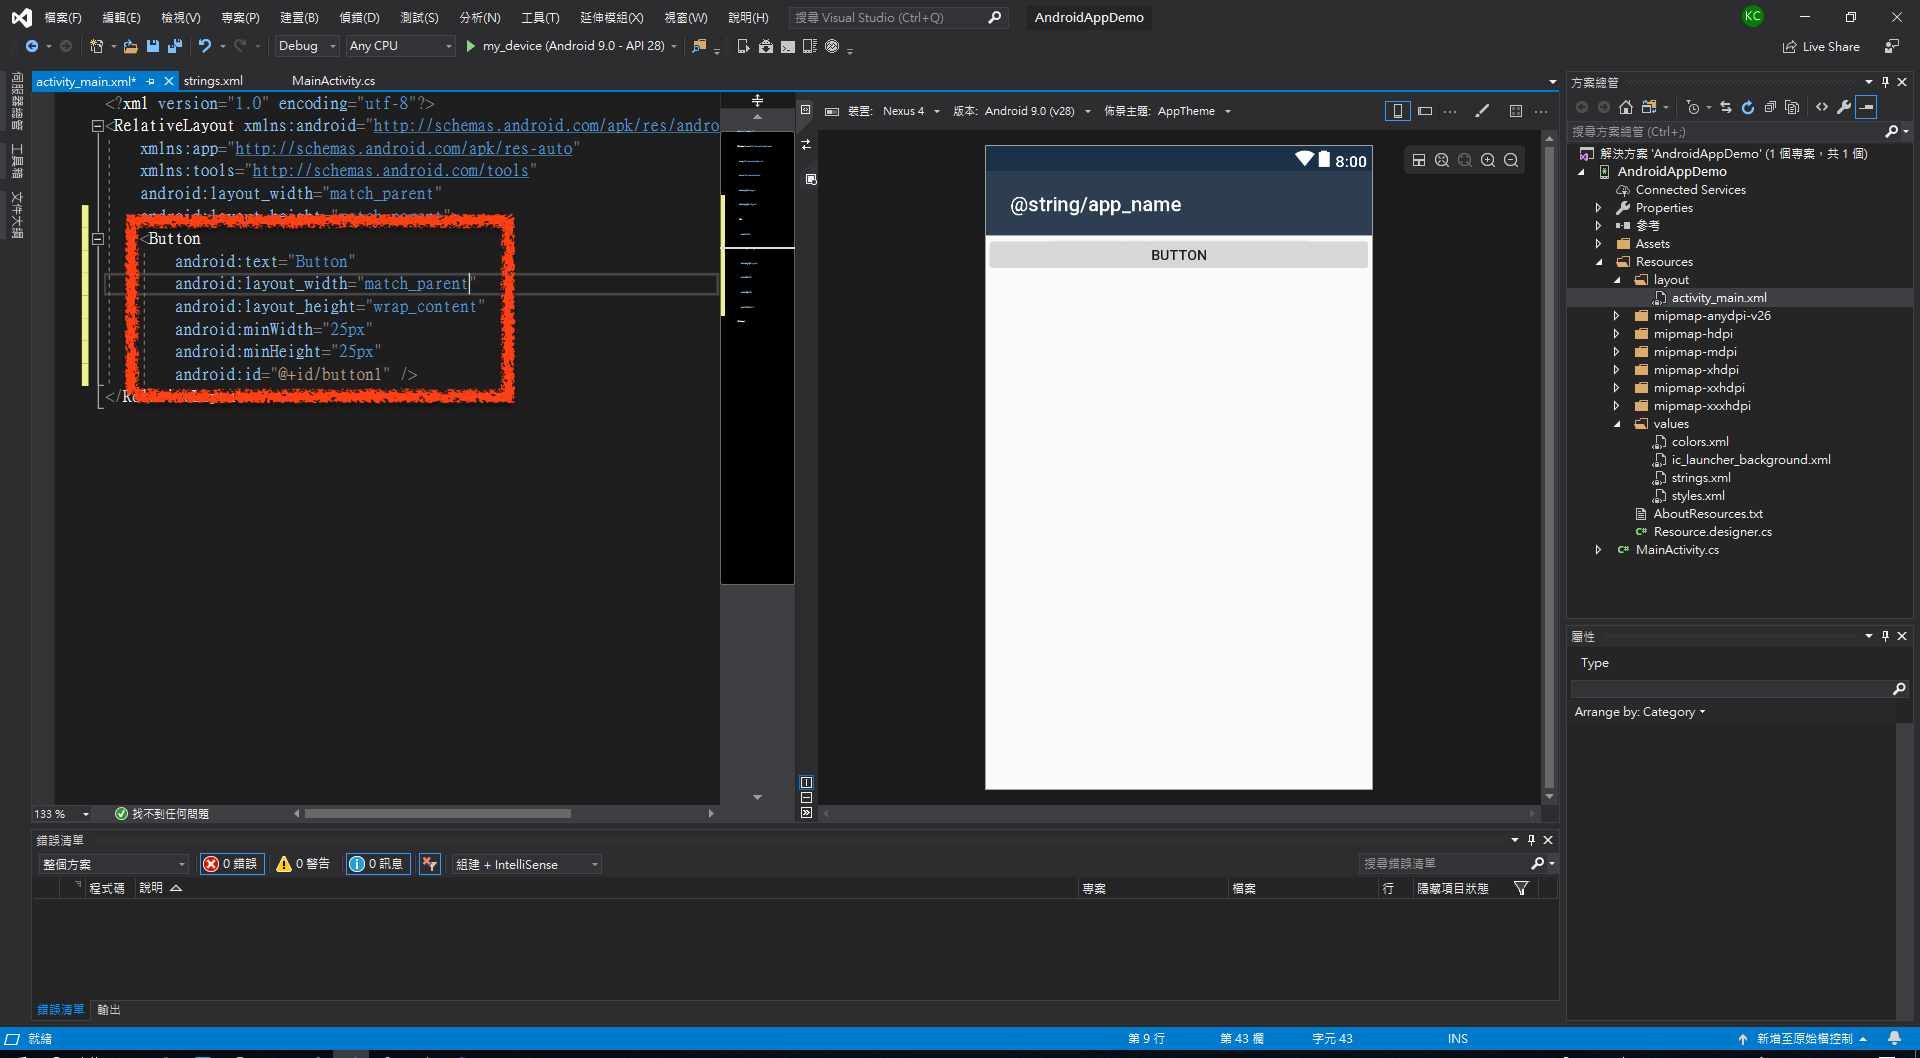
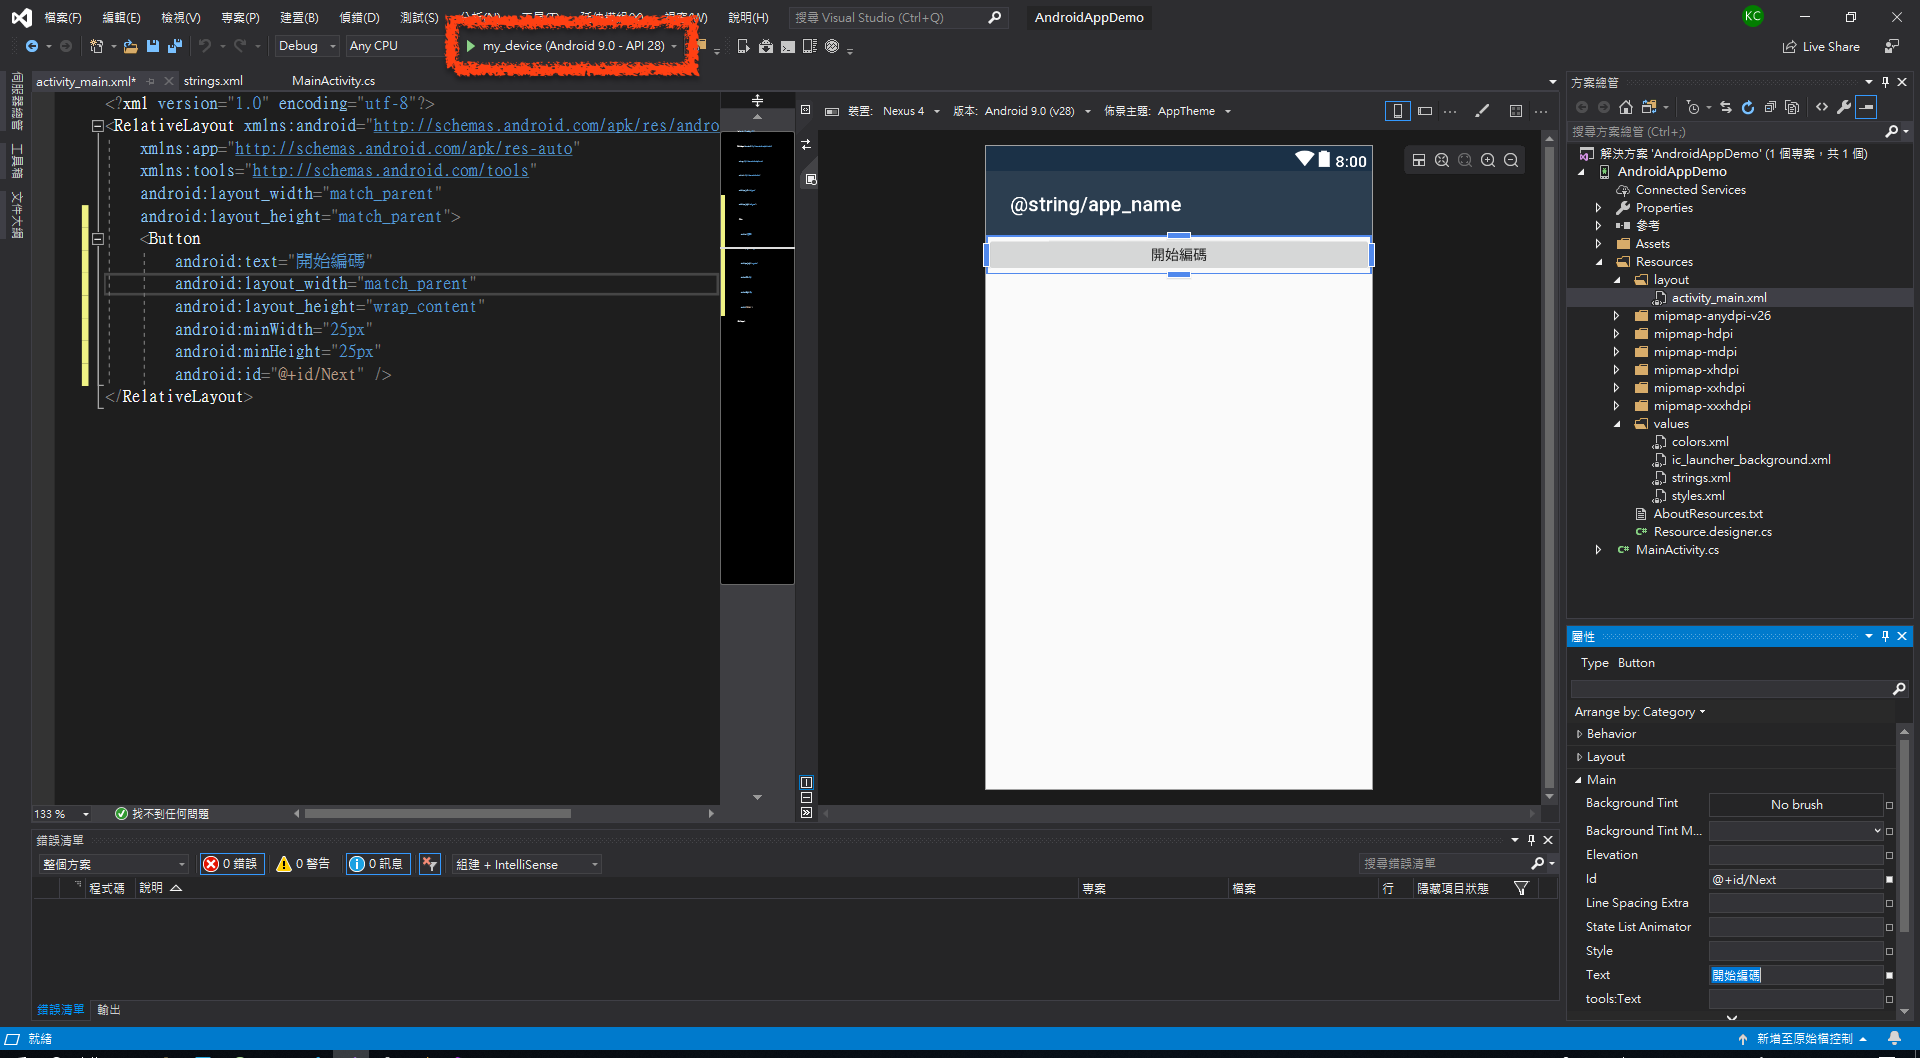
然後在左側的 XML 檔案中,將新增的 Button 內 layout_width 之後改成 match_parent ,這樣會讓 Button 在橫幅上充滿整個頁面
接下來在頁面上點選 Button ,在右下角屬性欄找到 Id 的地方,將內容改成 @+id/Next
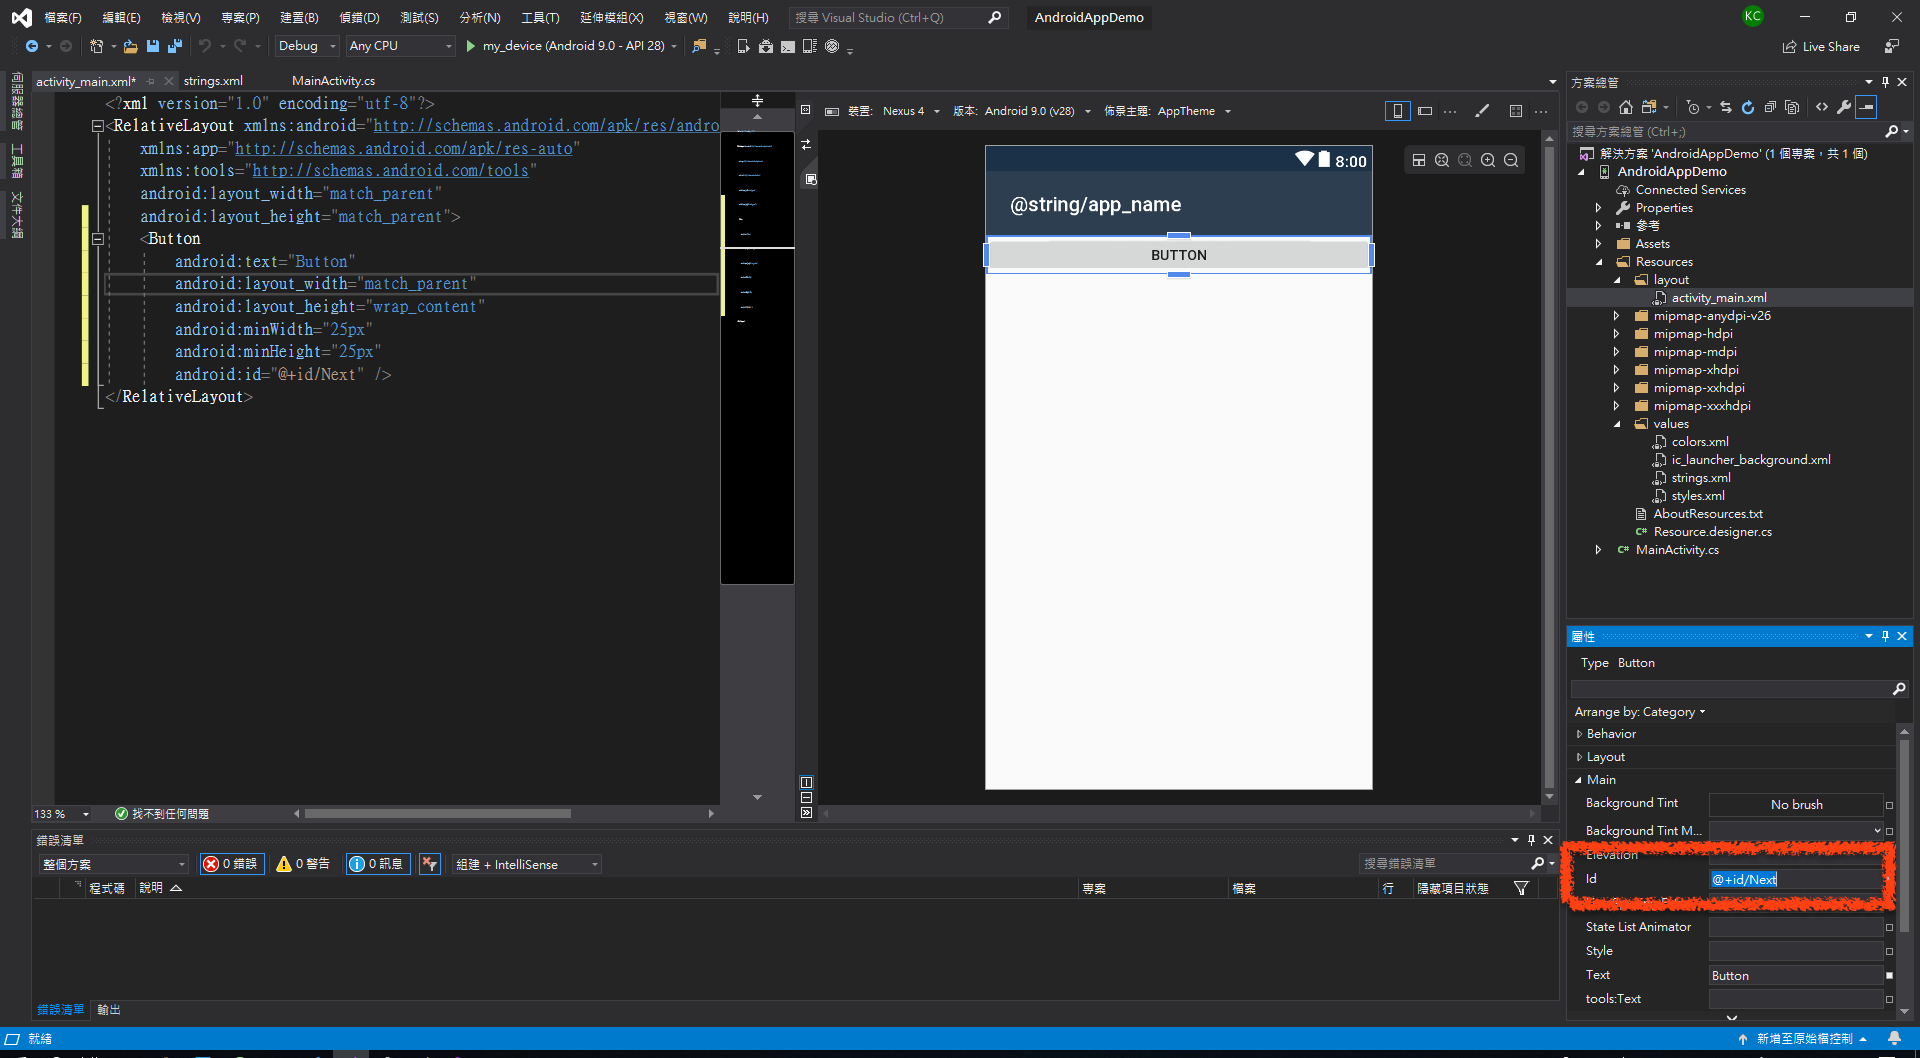
這樣這個 Button 的 ID 就會是 Next 。
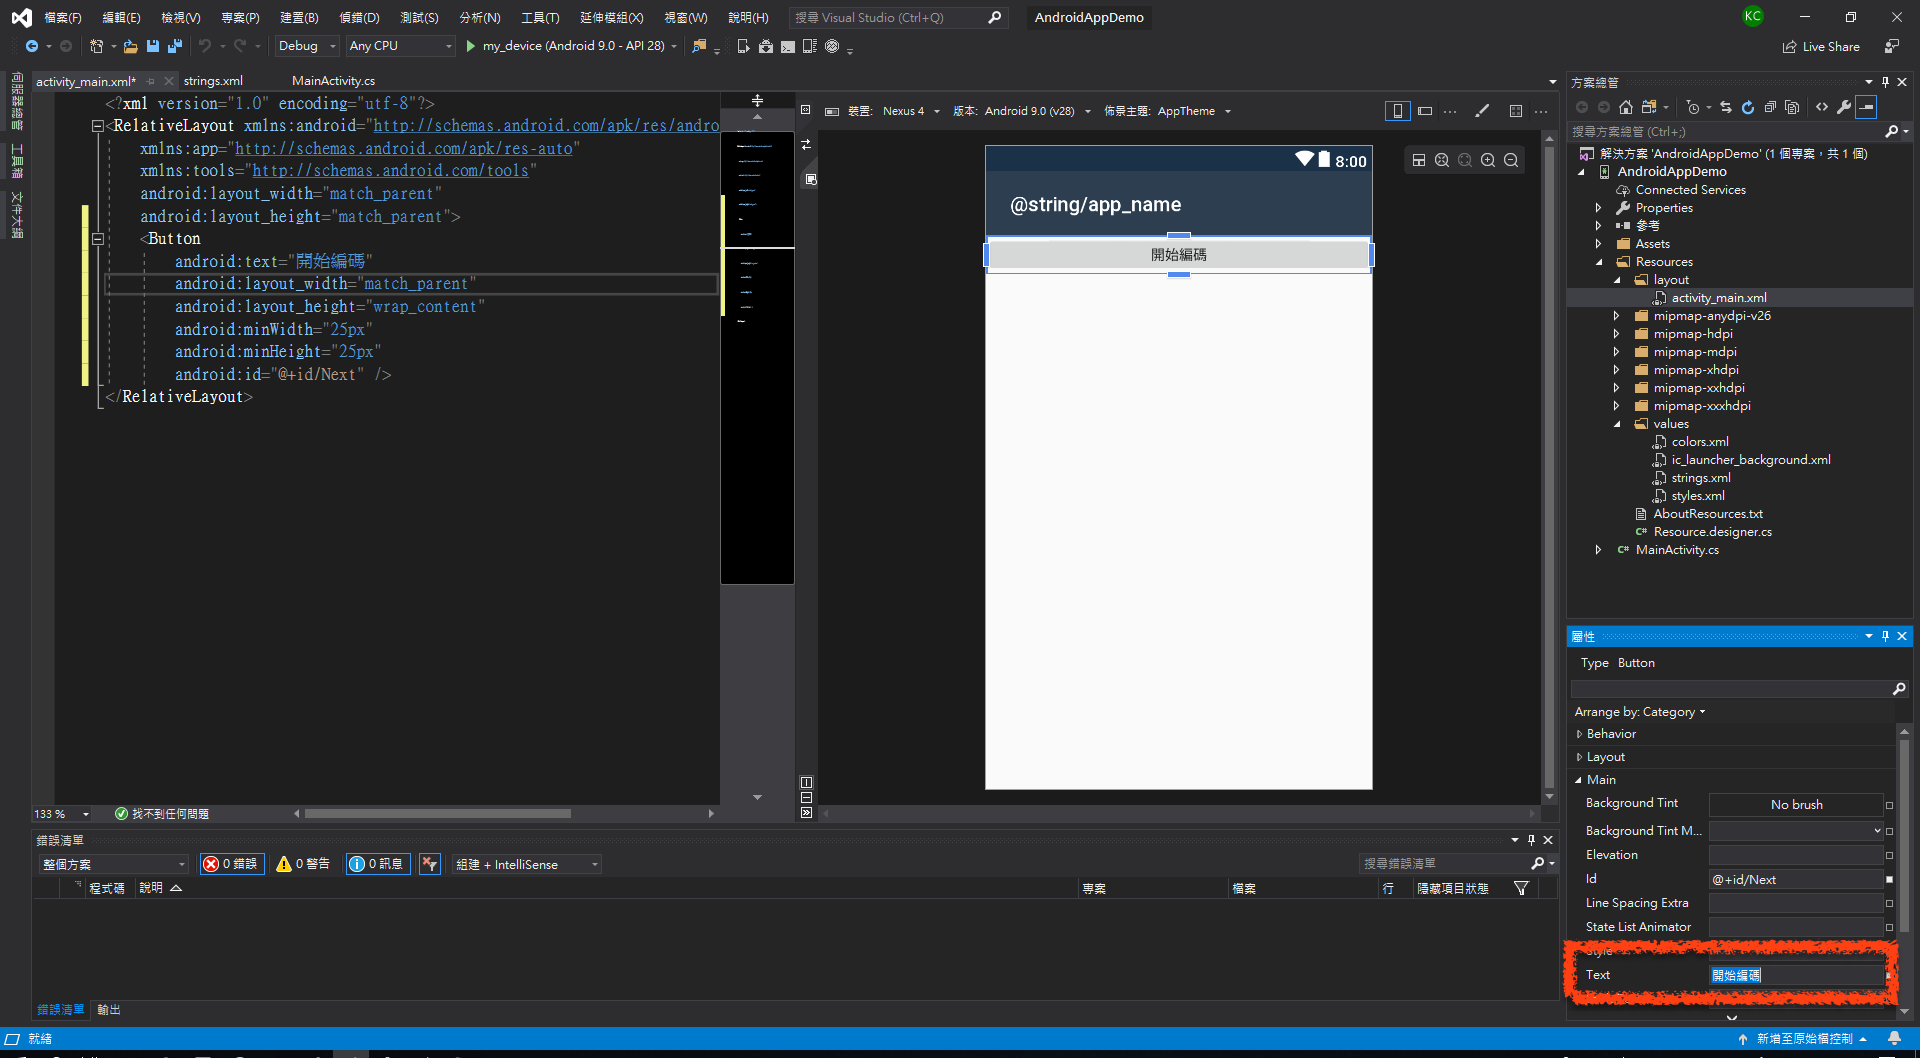
繼續找到 Text ,將內容改成「開始編碼」
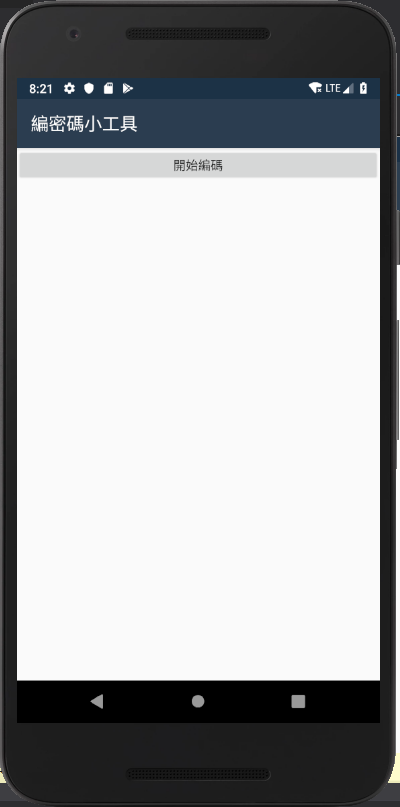
然後找到中間的執行鍵,點擊執行鍵
模擬器就會啟動,顯示目前的 App
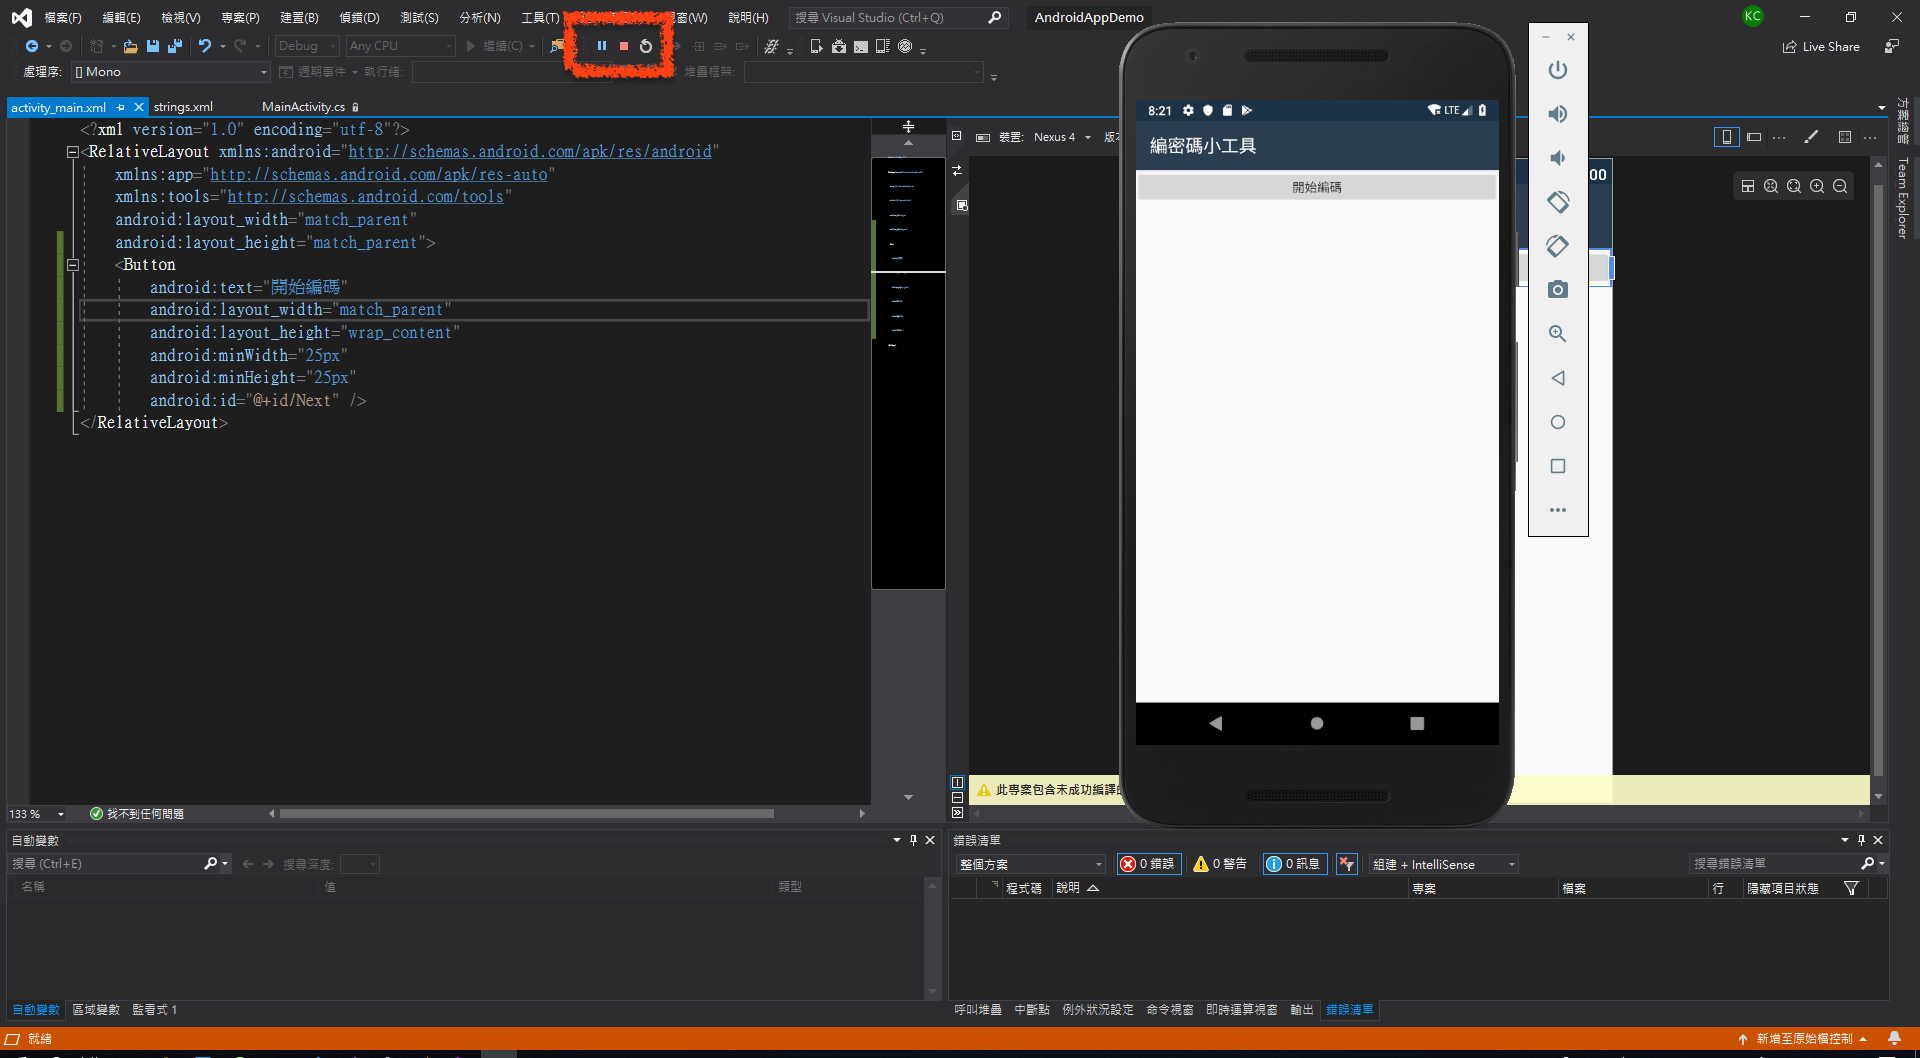
執行過程中,執行鍵會變成暫停鍵與停止鍵,如果要結束 App 在模擬器上運作,可以點擊停止鍵
首頁的按鈕開始編碼預計會進入編碼頁面,下一個單元先討論如何換頁。
相關教學影片

| 中英文術語對照 | |
|---|---|
| 字串 | string |
| 重點整理 |
|---|
| 1. string.xml 記錄關於整個專案的特定字串。 |
| 2. <RelativeLayout> 是新專案預設的排版模式,新的 Activity 的排版模式為 <LinearLayout> 。 |
| 3. 每一個 App 元件都要設定專屬的 ID ,在 Activity 可以利用 ID 取得 App 元件的物件。 |
| 問題與討論 |
|---|
| 1. <RelativeLayout> 跟 <LinearLayout> 有何不同? |
| 2. 為什麼要把 Button 內 layout_width 之後改成 match_parent ? |
| 3. 為什麼 App 元件都會有 ID ? ID 的作用是什麼? |
| 練習 |
|---|
| 1. 承接上一單元的 HelloAndroidDemo 專案,將 App 名稱改為「說哈囉」。 |
| 2. 承上題,在 activity_main.xml 加入一個 TextView ,將文字設定為「哈囉」,然後加入一個 Button ,文字設定為「按我」。 |
| 3. 承接上一單元的 GuessAndroidDemo 專案,將 App 名稱改為「猜數字遊戲」。 |
| 4. 承上題,把 activity_main.xml 改成 LinearLayout ,然後將 android:orientation 設定為 "vertical" ,其後加入一個 TextView ,文字設定為「請選擇所要猜測的數字數量」,底下繼續加入兩個 "horizontal" 的 LinearLayout ,每個 LinearLayout 加入兩個 Button , Button 文字依序為 3 、 4 、 5 、 6 。 |